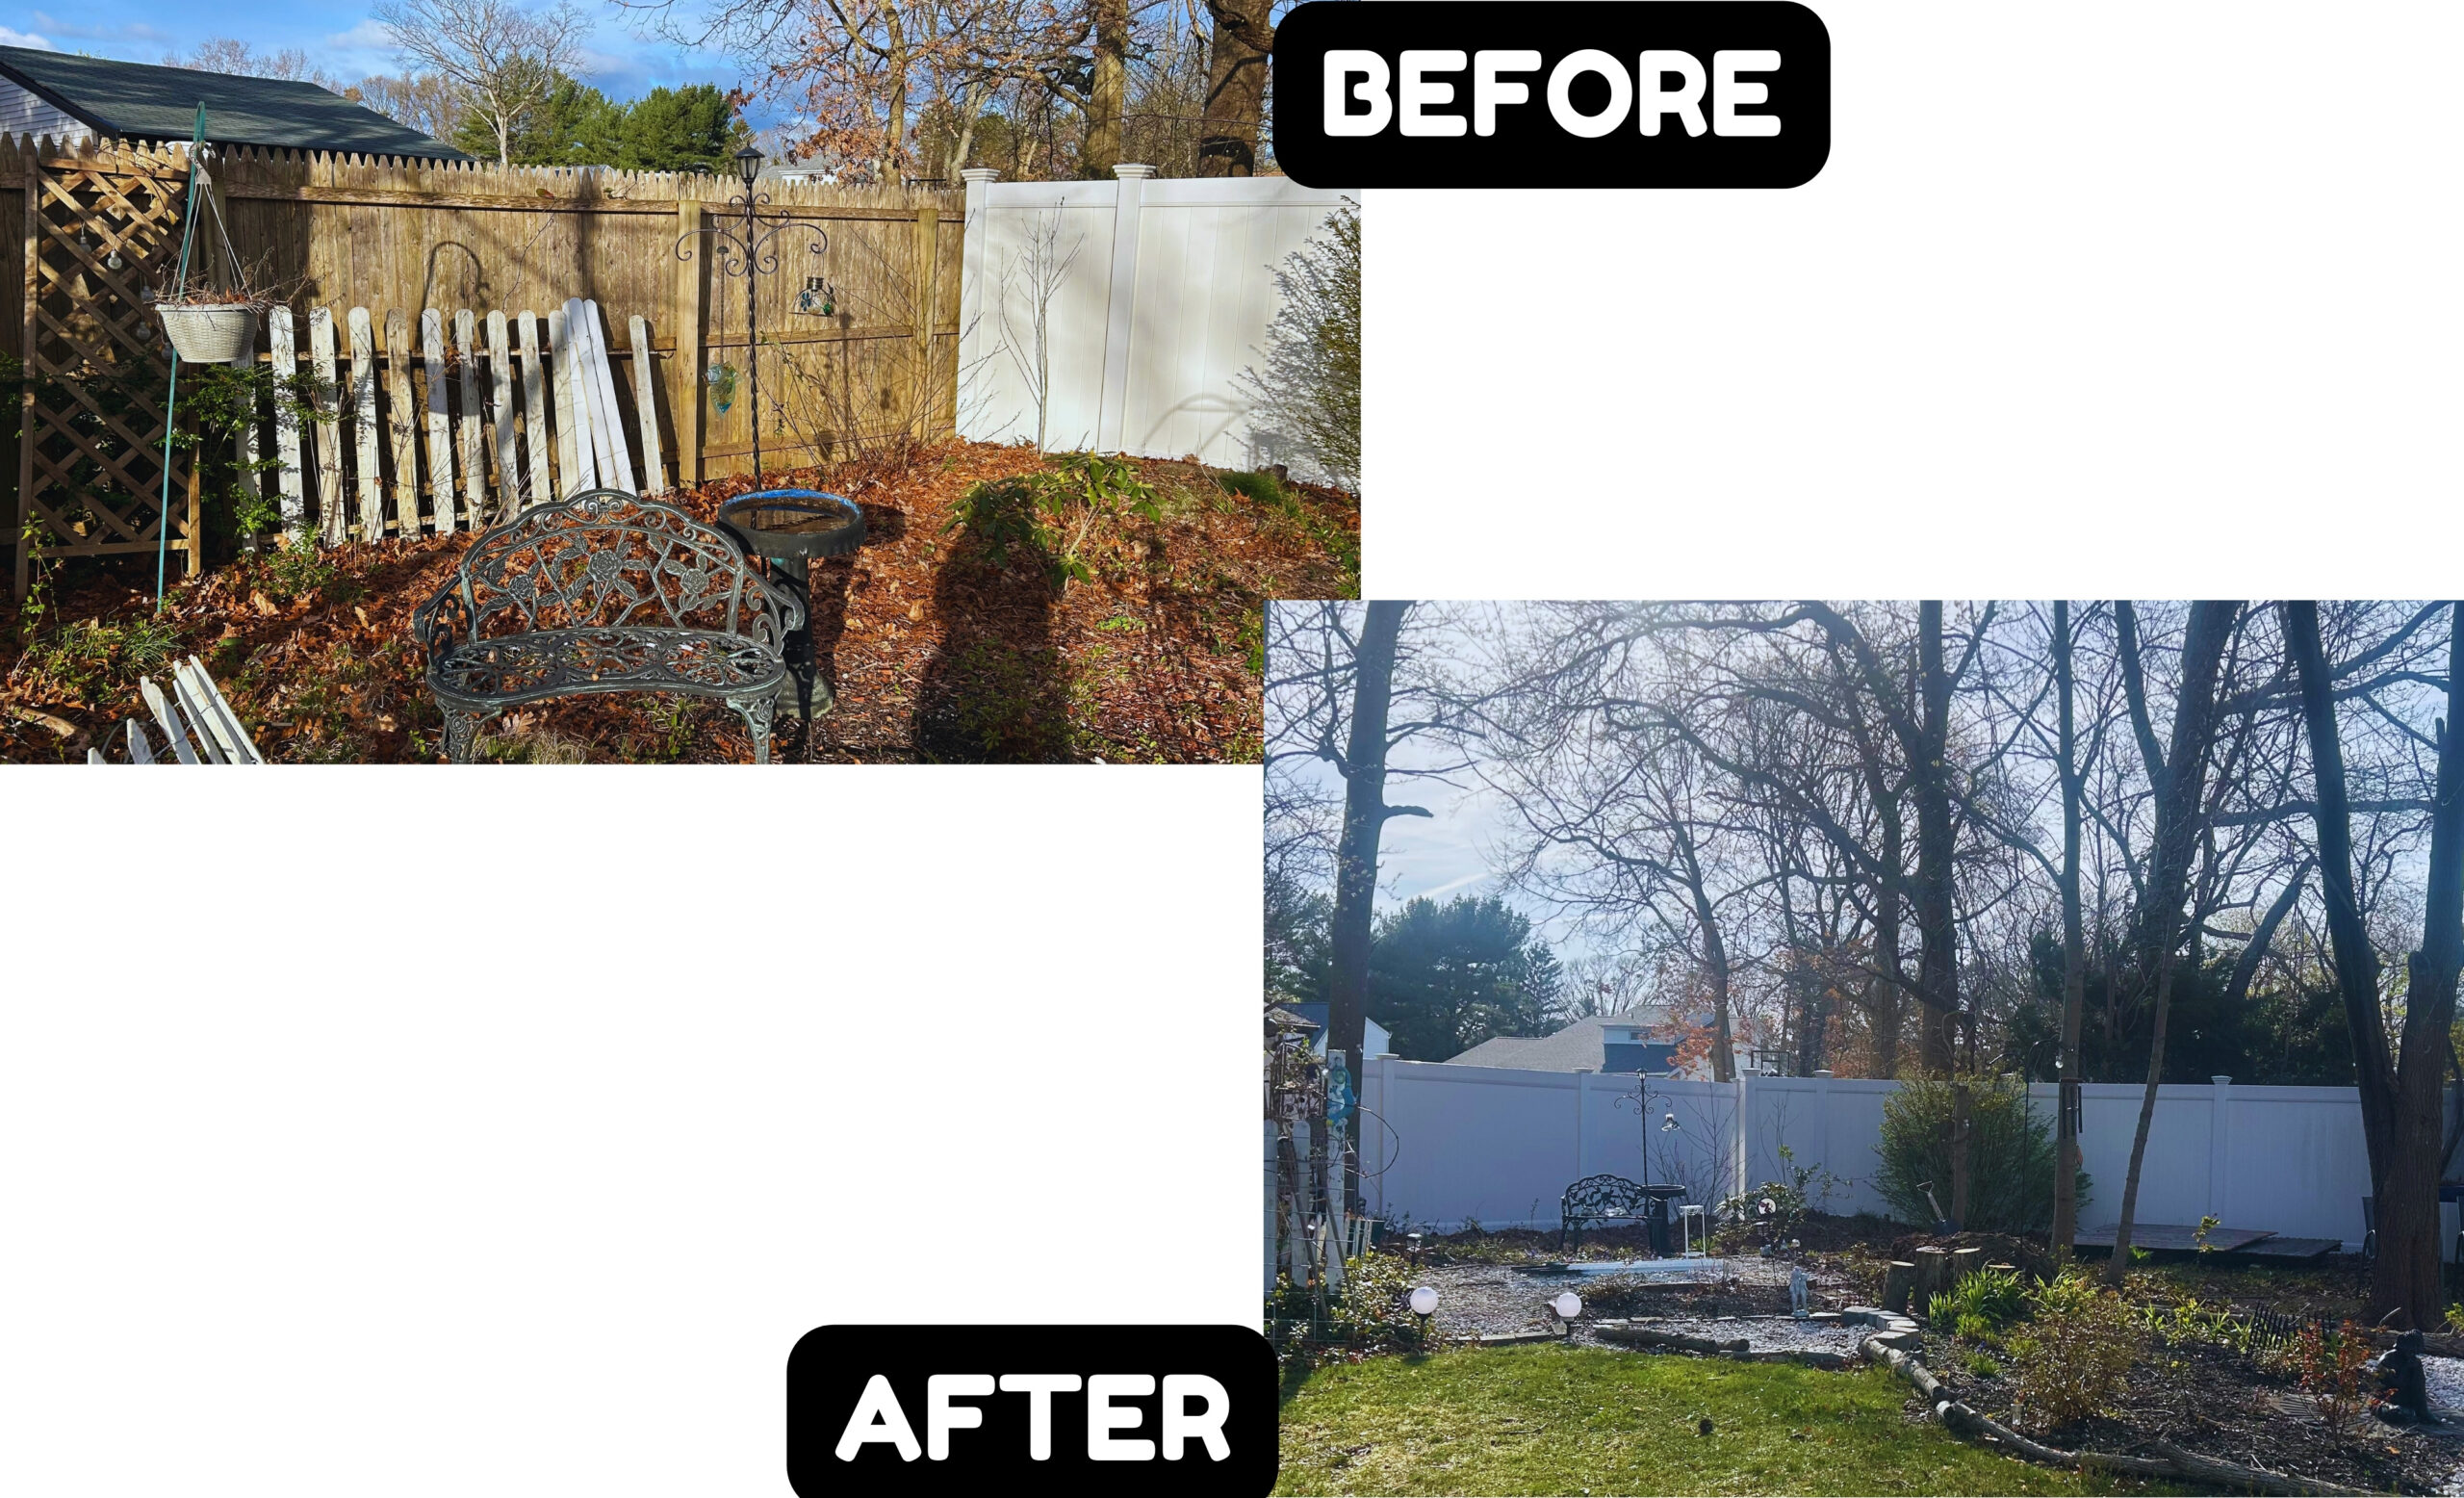
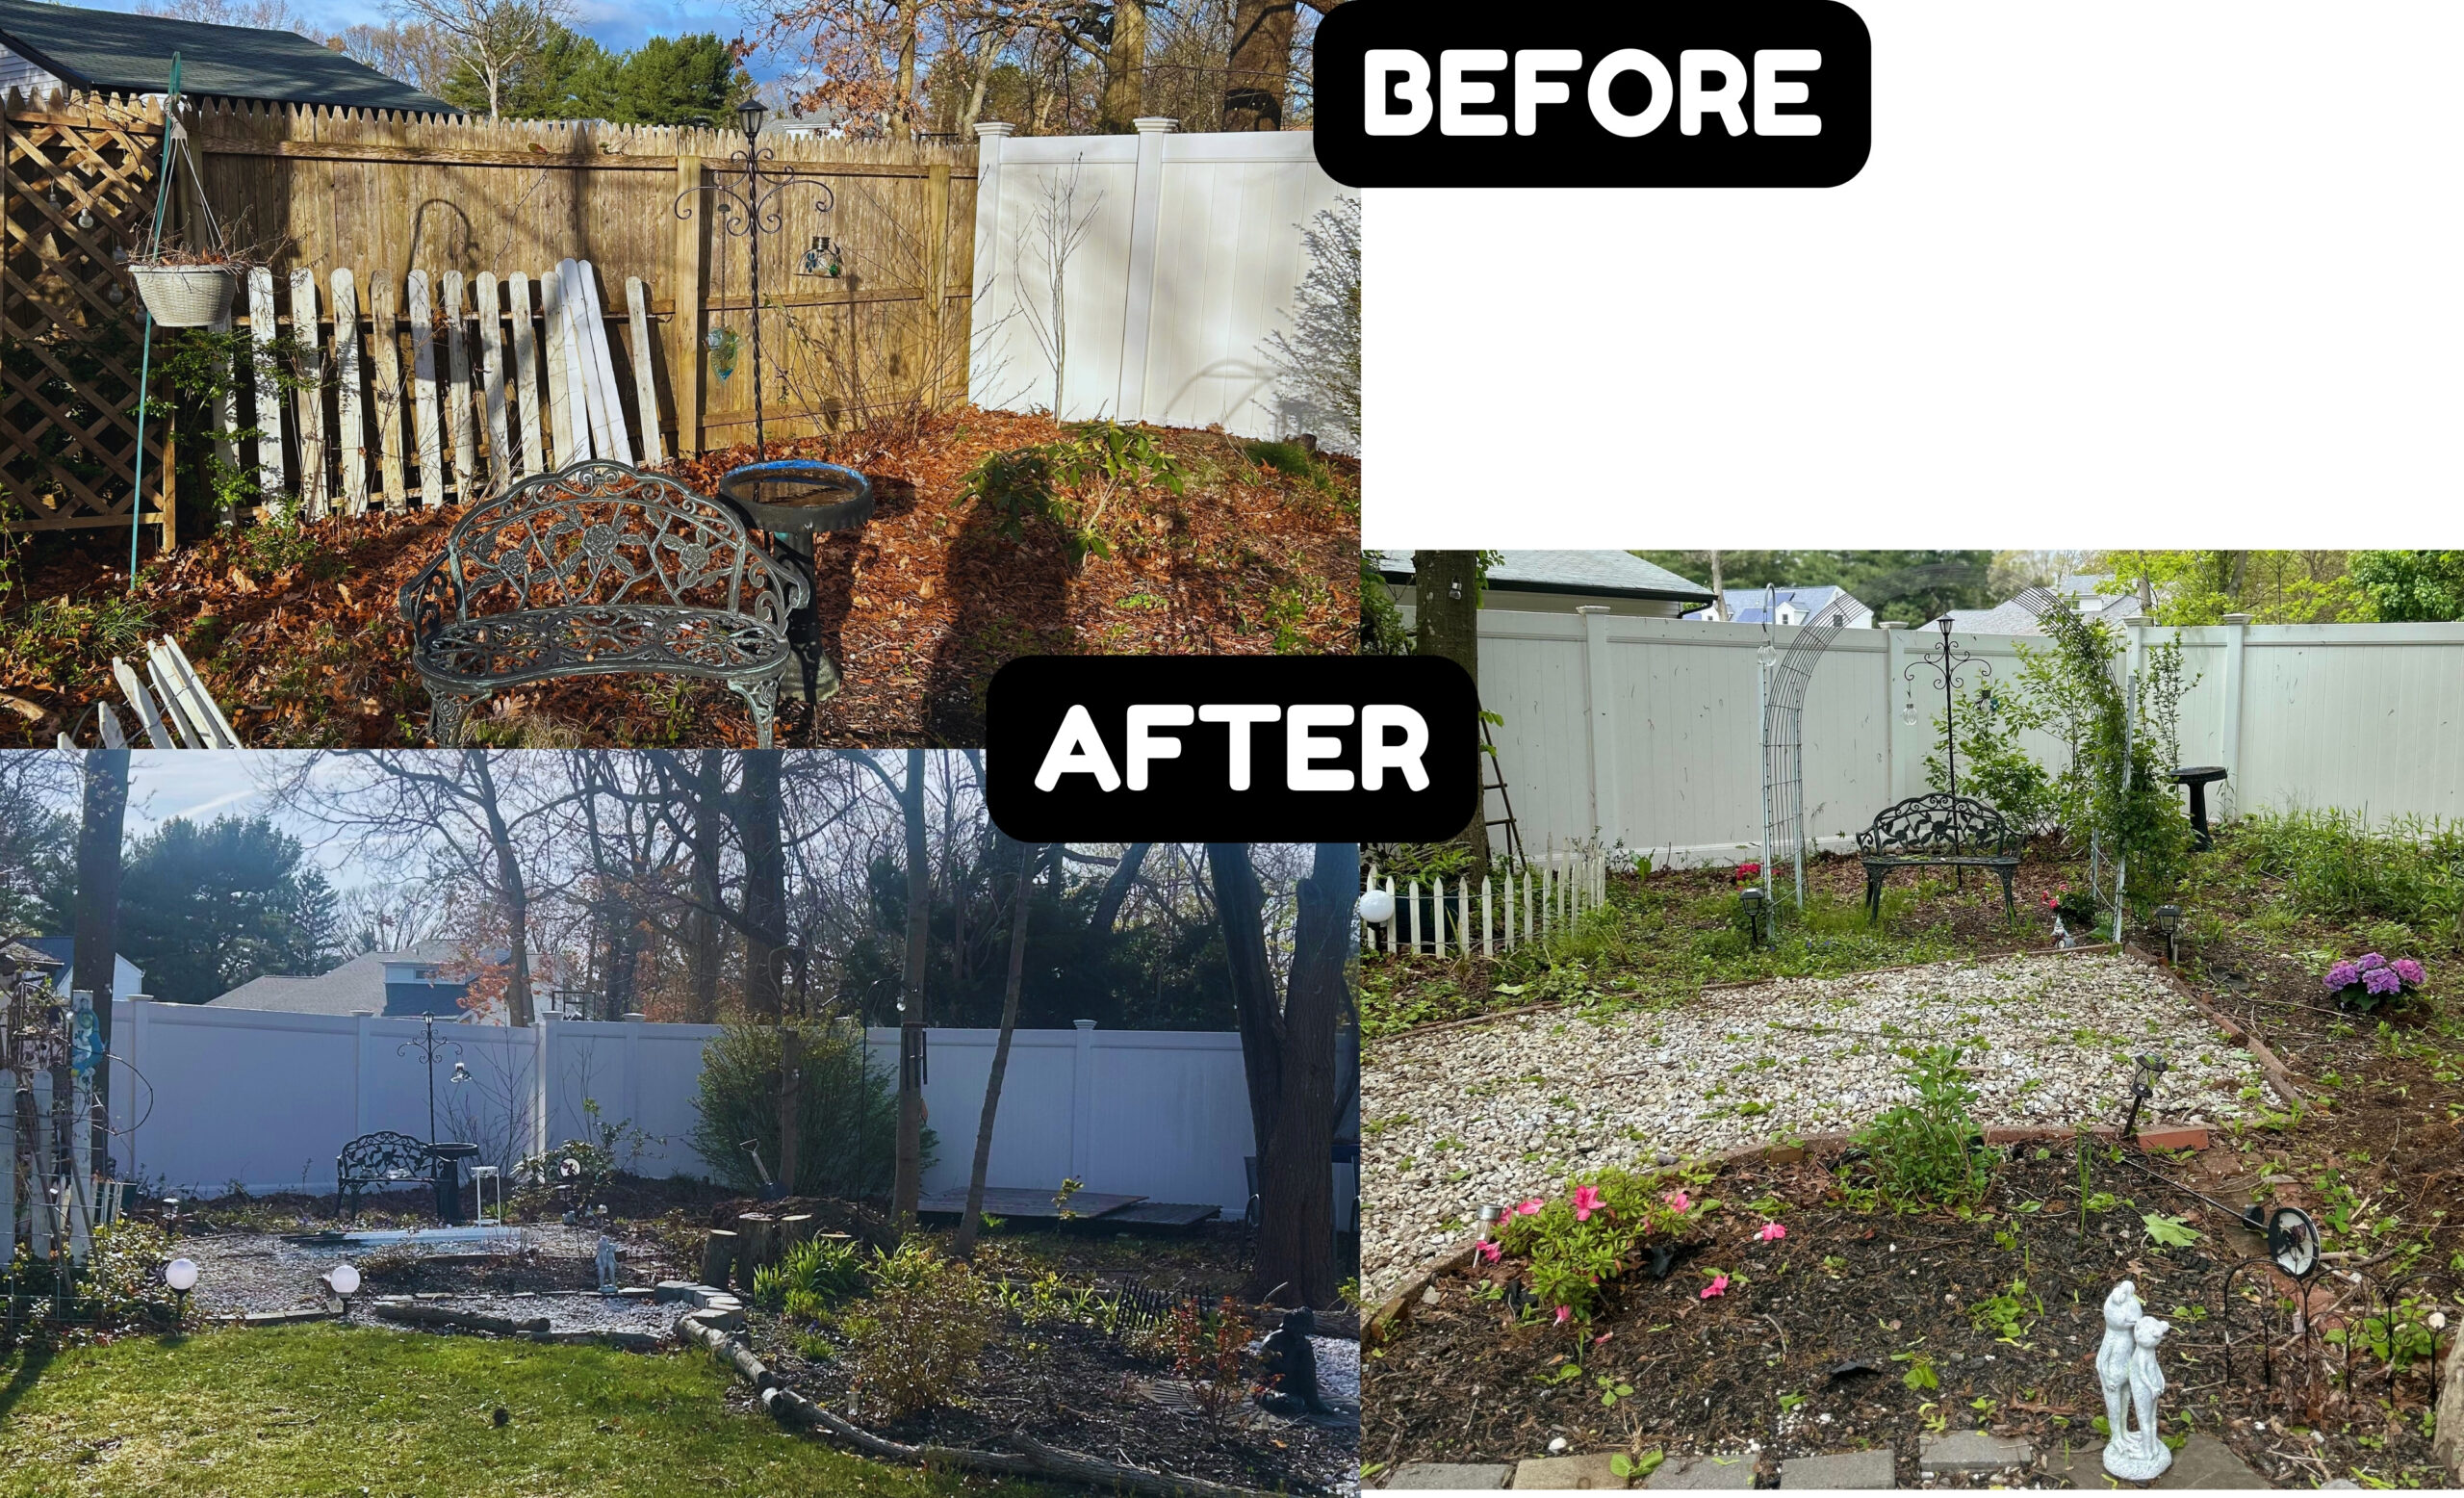
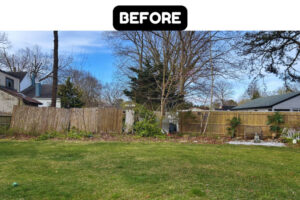
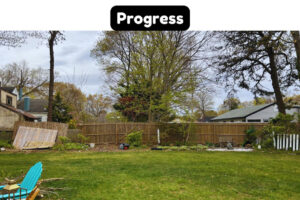
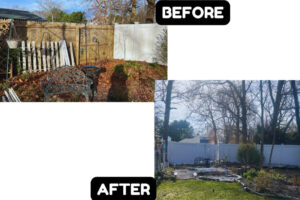
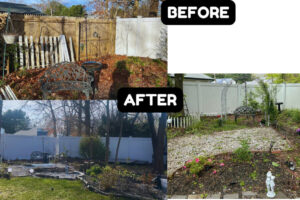
Moving Your Fence: DIY Yard Transformation on a Budget
Breathe New Life into Your Yard: A Step-by-Step Guide to Moving a Fence
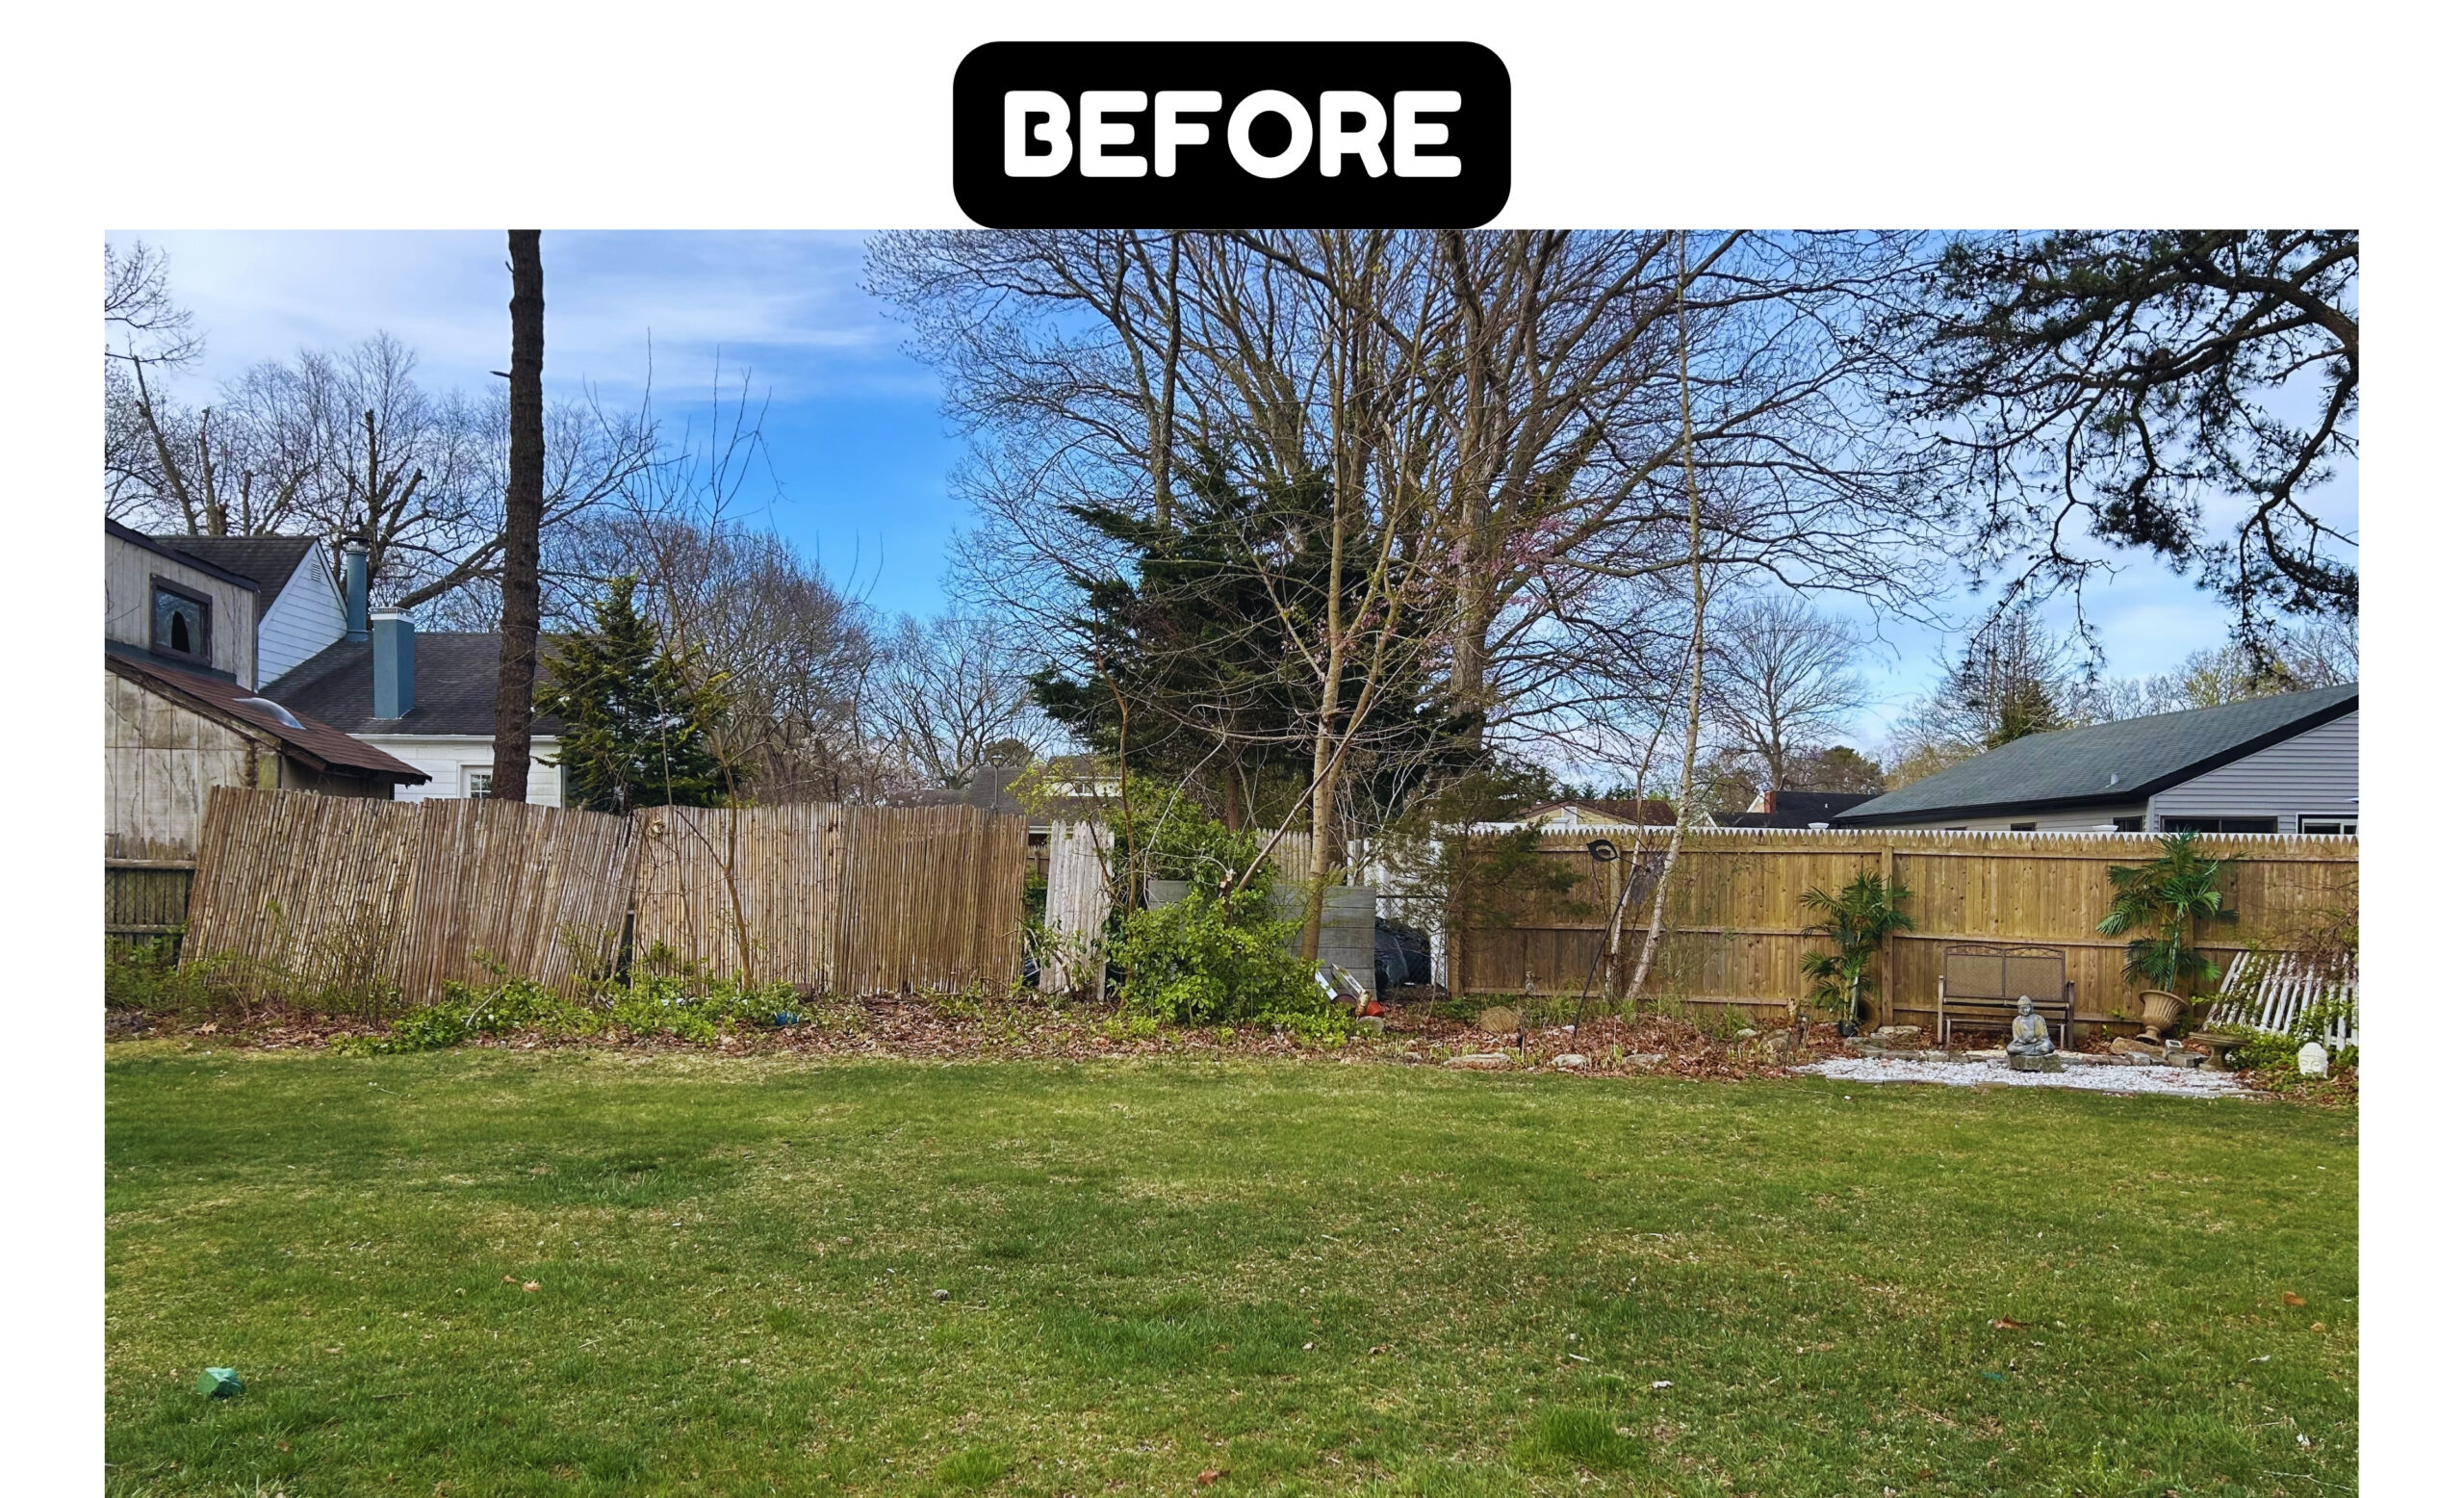
Fences can deteriorate over time, becoming an eyesore and privacy concern. But before you rush out to buy all new materials, consider giving your existing fence a second chance! This guide will show you how to move and reuse a wood stockade fence, saving you money and adding a touch of rustic charm to your yard.
Important Note: This project requires some physical effort and can be dusty or dirty work. Be sure to prioritize safety throughout the process.
Safety First!
- Gather your safety gear: goggles, gloves, long pants, and sturdy shoes.
- Depending on the size and weight of the fence panels and posts, you might also consider using a mask to avoid inhaling dust particles.
Gather Your Supplies:
- Hammer (claw hammer or pry bar)
- Shovel
- Post hole digger
- Clippers or pruning shears
- Rake
- Mini Chainsaw (optional)
- Power drill with appropriate drill bits
- L brackets (enough for both sides of each post, top and bottom)
- Outdoor screws (compatible with your L brackets)
- Outdoor Stain
- Paint brushes (optional)
This post contains affiliate links. If you purchase through these links, I may earn a small commission at no extra cost to you. Your support helps keep DIYdalia’s running smoothly, so thank you!
Step 1: Prep the Work Area
- Clear a comfortable workspace around the fence. This will give you room to maneuver and avoid tripping over overgrown vegetation.
- Use your clippers or pruning shears to trim back any overgrown branches, bushes, or vines that might be entangled with the fence.
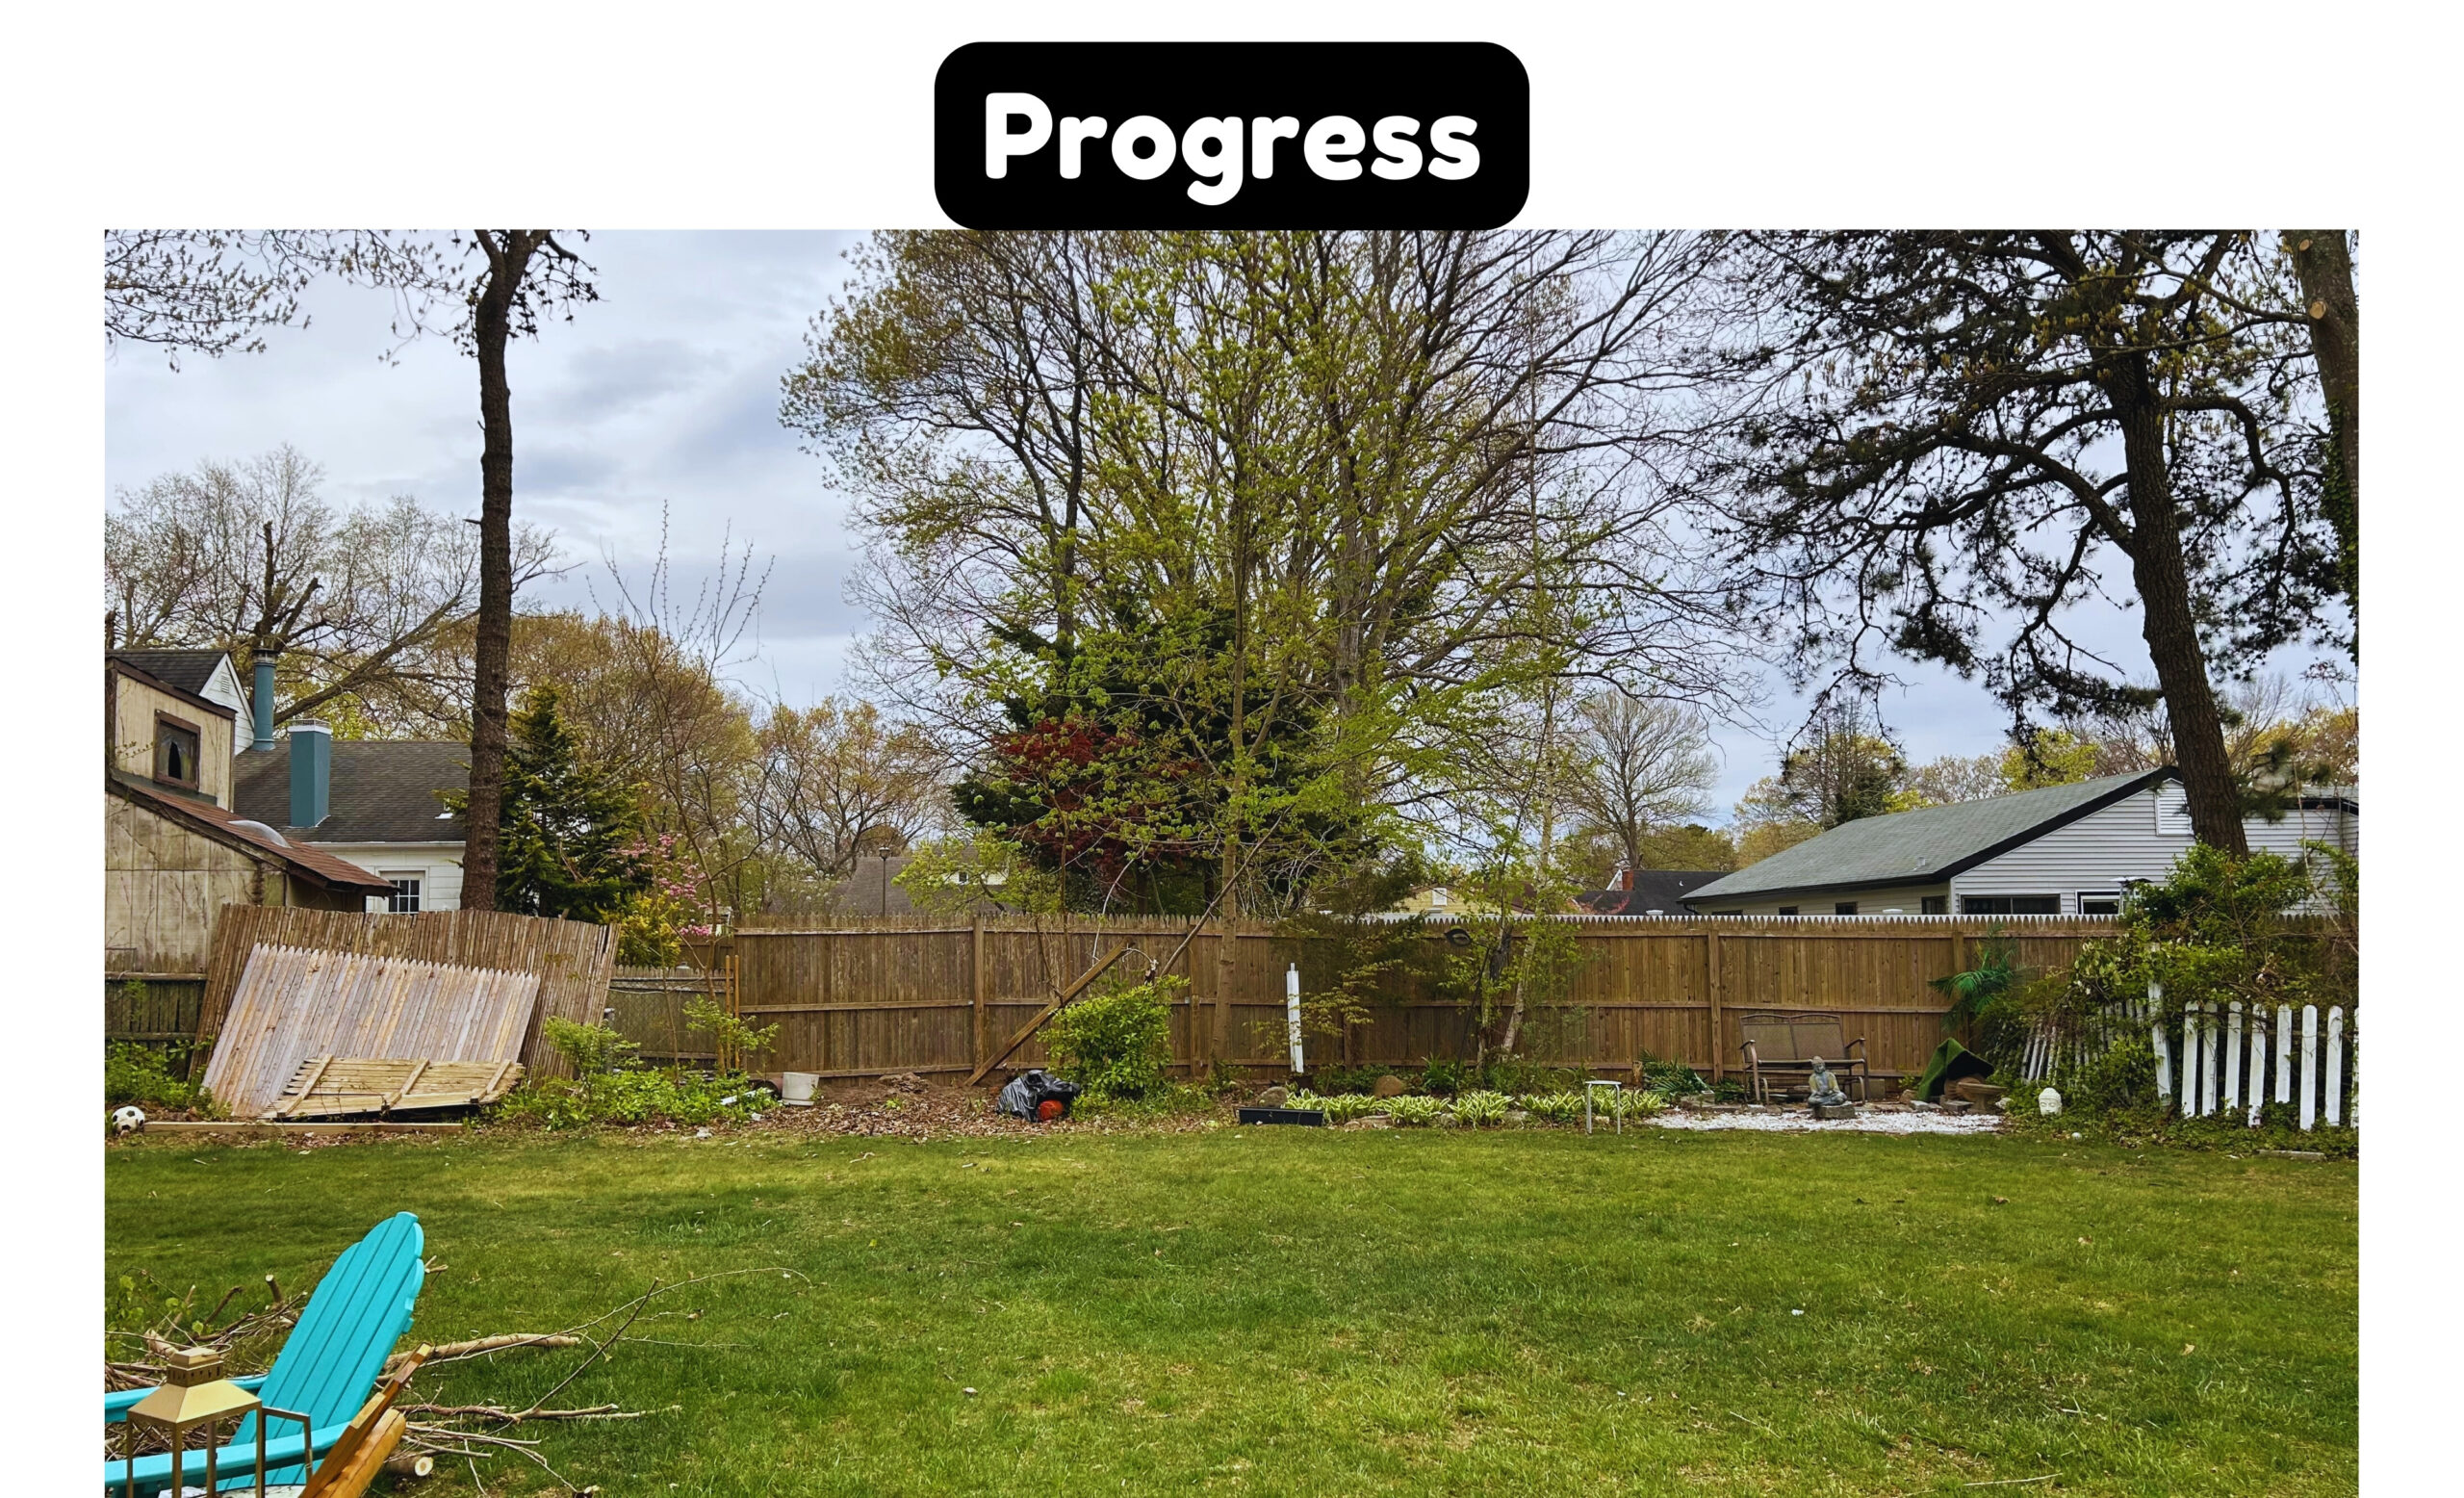
Step 2: Dismantle the Old Fence
- Removing the Panels:
- Work from top to bottom on both sides of the fence.
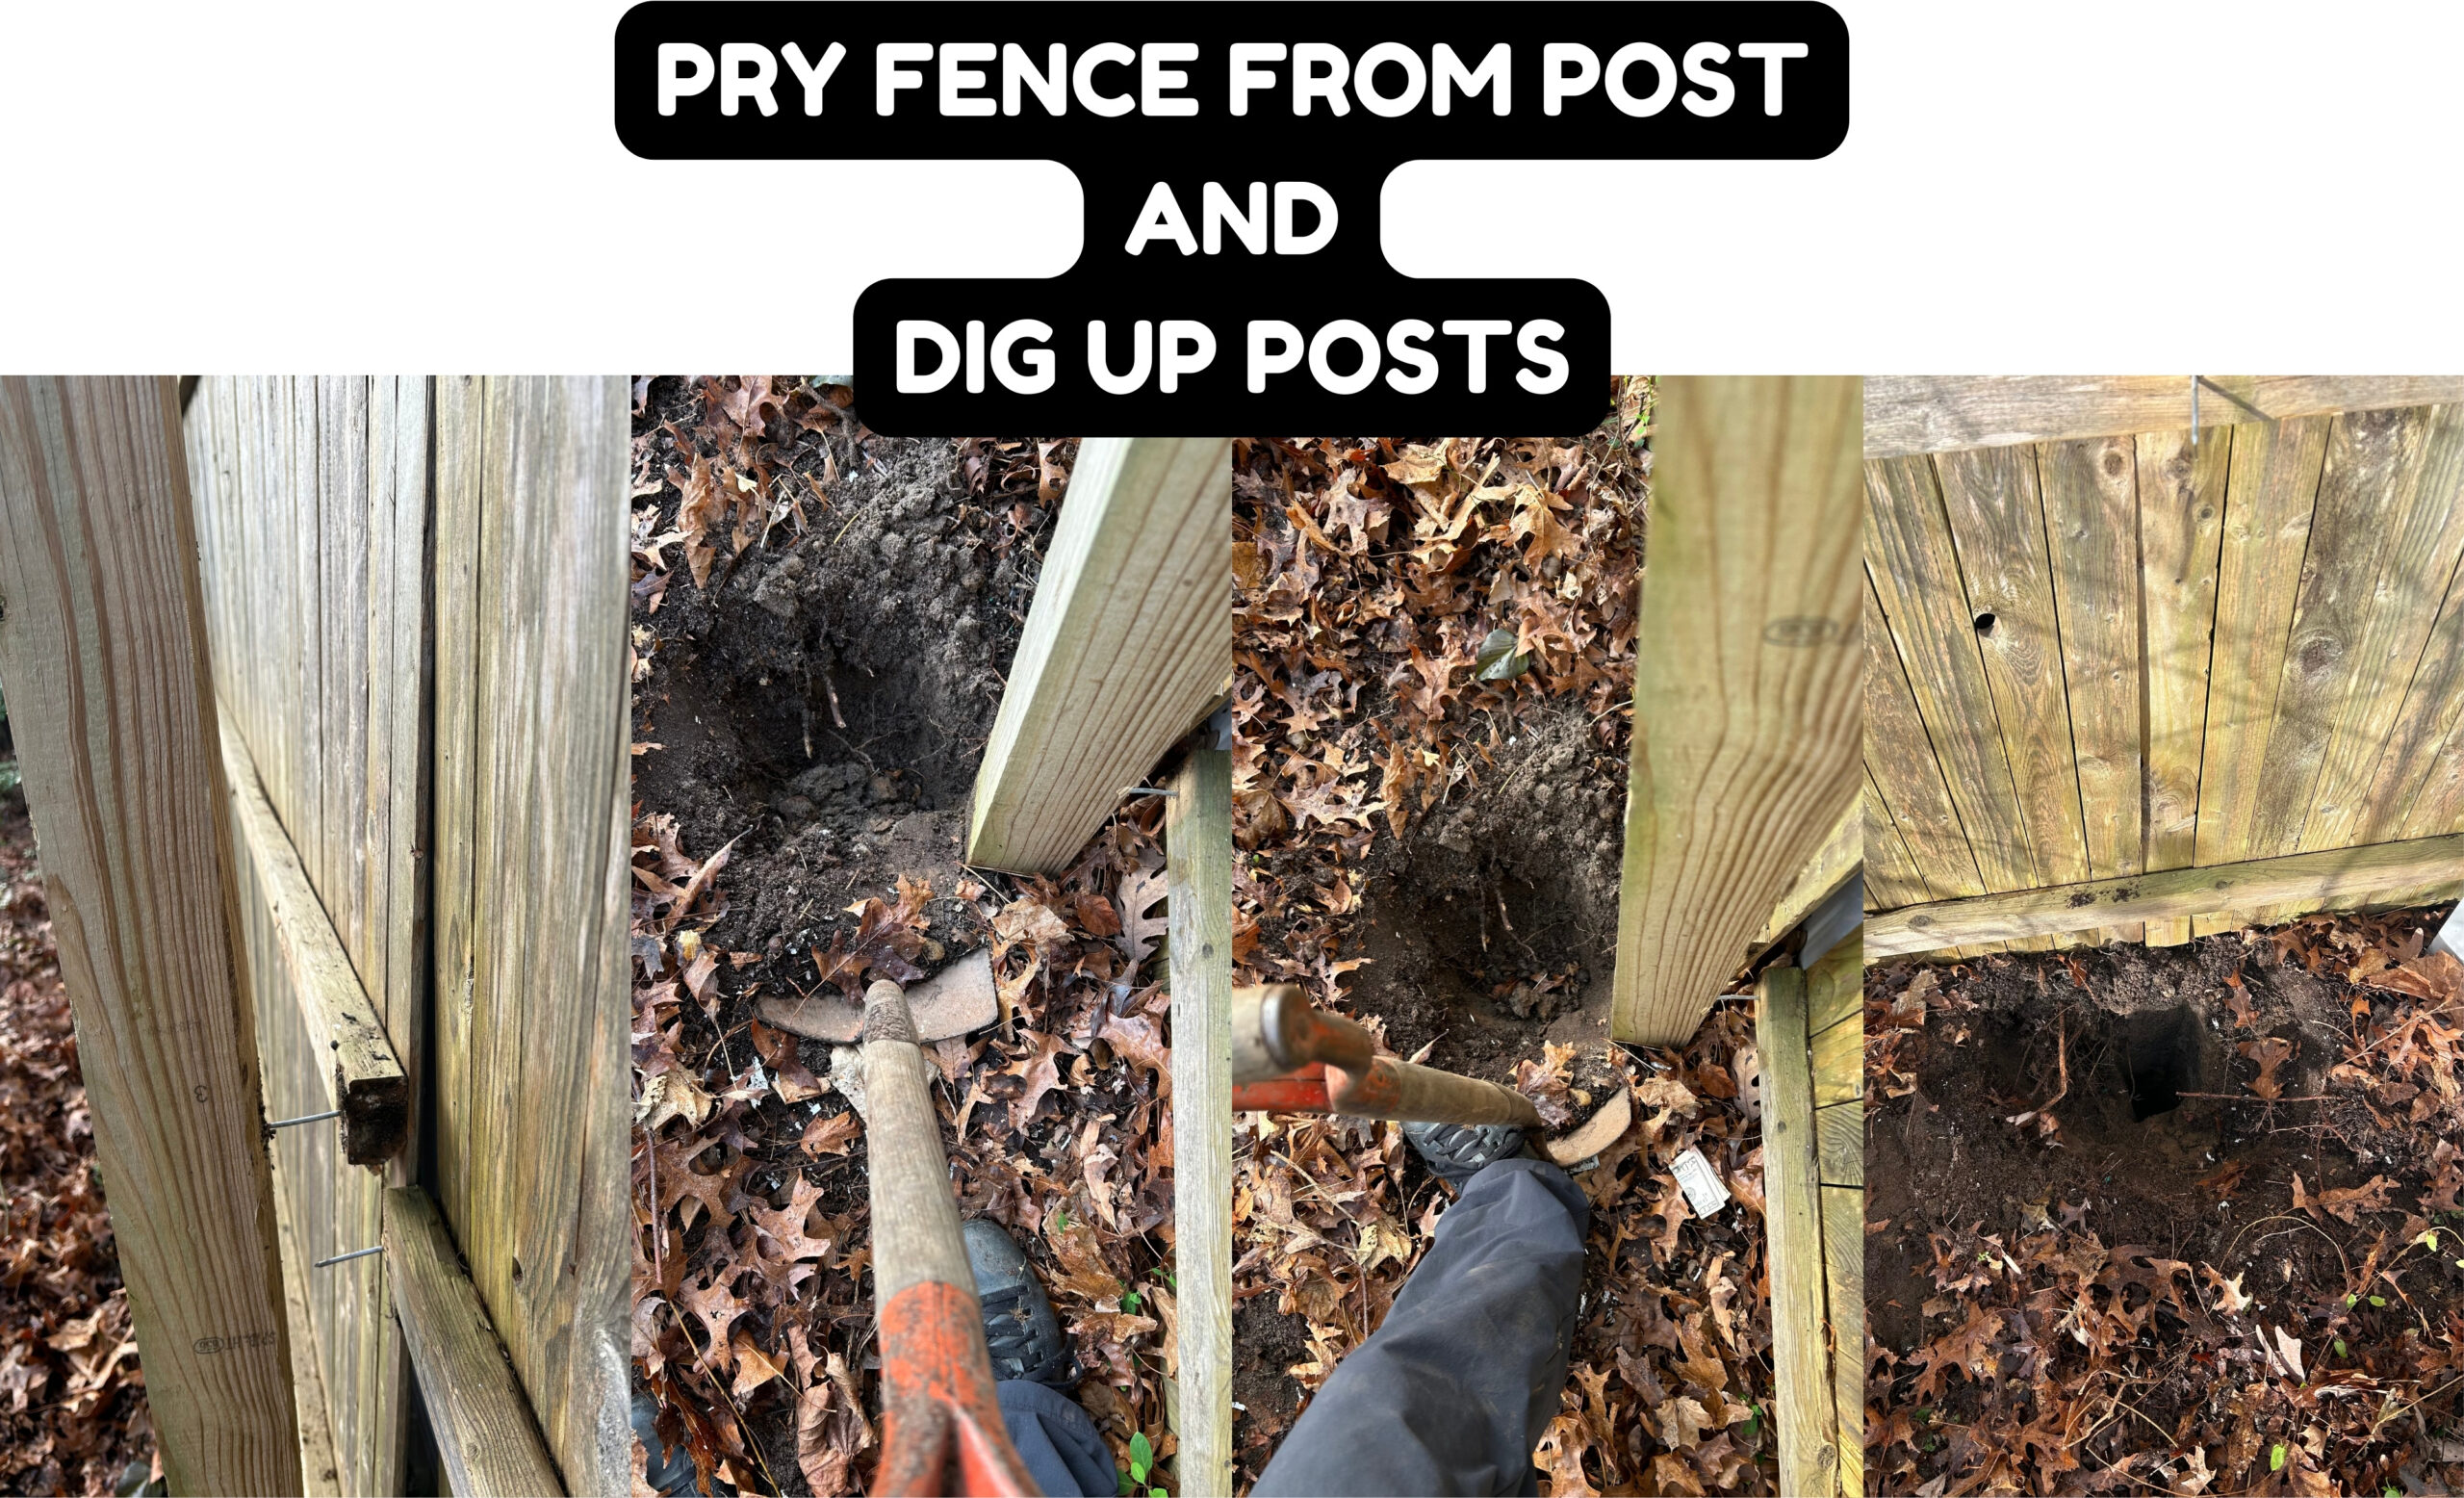
- Carefully pry the nails out of the panels using your hammer. Be mindful not to damage the wood excessively as you’ll be reusing the panels.
- If the panels are stubborn, try rocking them back and forth gently to loosen the nails.
- Extracting the Posts:
- Dig a shallow trench around the base of each post to expose some of the buried section.
- Once you have enough space to work, push the post back and forth to loosen the soil around it.
- If the posts are not cemented in, you should be able to pull them out by hand with some effort.
- For Cemented Posts: You’ll need to dig further down to break the concrete hold. This can be a challenging task. If you’re not comfortable doing this yourself, consider hiring a professional to assist you with this step.
Step 3: Building the New Fence
- Clear the New Location:
- Rake and remove any debris from the area where you’ll be reassembling the fence. Ensure the ground is level for a stable fence line.
- Reposition the Posts:
- Carefully place the posts in their new locations, ensuring they are spaced evenly and plumb (straight up and down). You can use a level to check for plumb.
- Secure the Panels:
- Instead of nails, use L brackets for a stronger and more permanent reattachment of the panels to the posts.
- Screw the L brackets securely to both the top and bottom of each post, ensuring a tight connection between the panels and the posts.
Step 4 (Optional): Staining for a Refresh
- Give your recycled fence a fresh new look with a coat of outdoor stain. Choose a color that complements your existing outdoor structures and landscaping.
- Apply the stain according to the manufacturer’s instructions, ensuring even coverage.
Step 5: Admire Your Work!
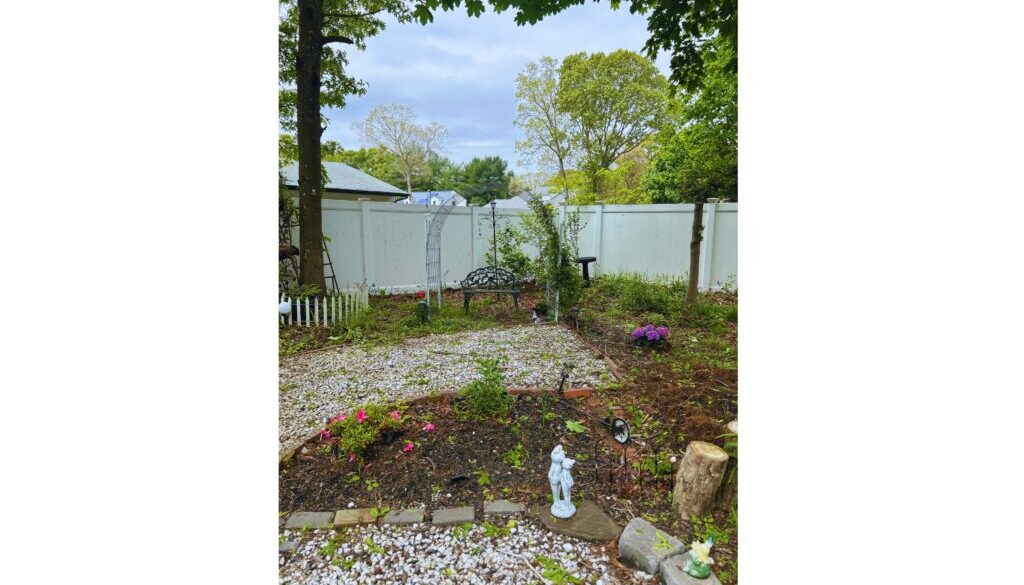
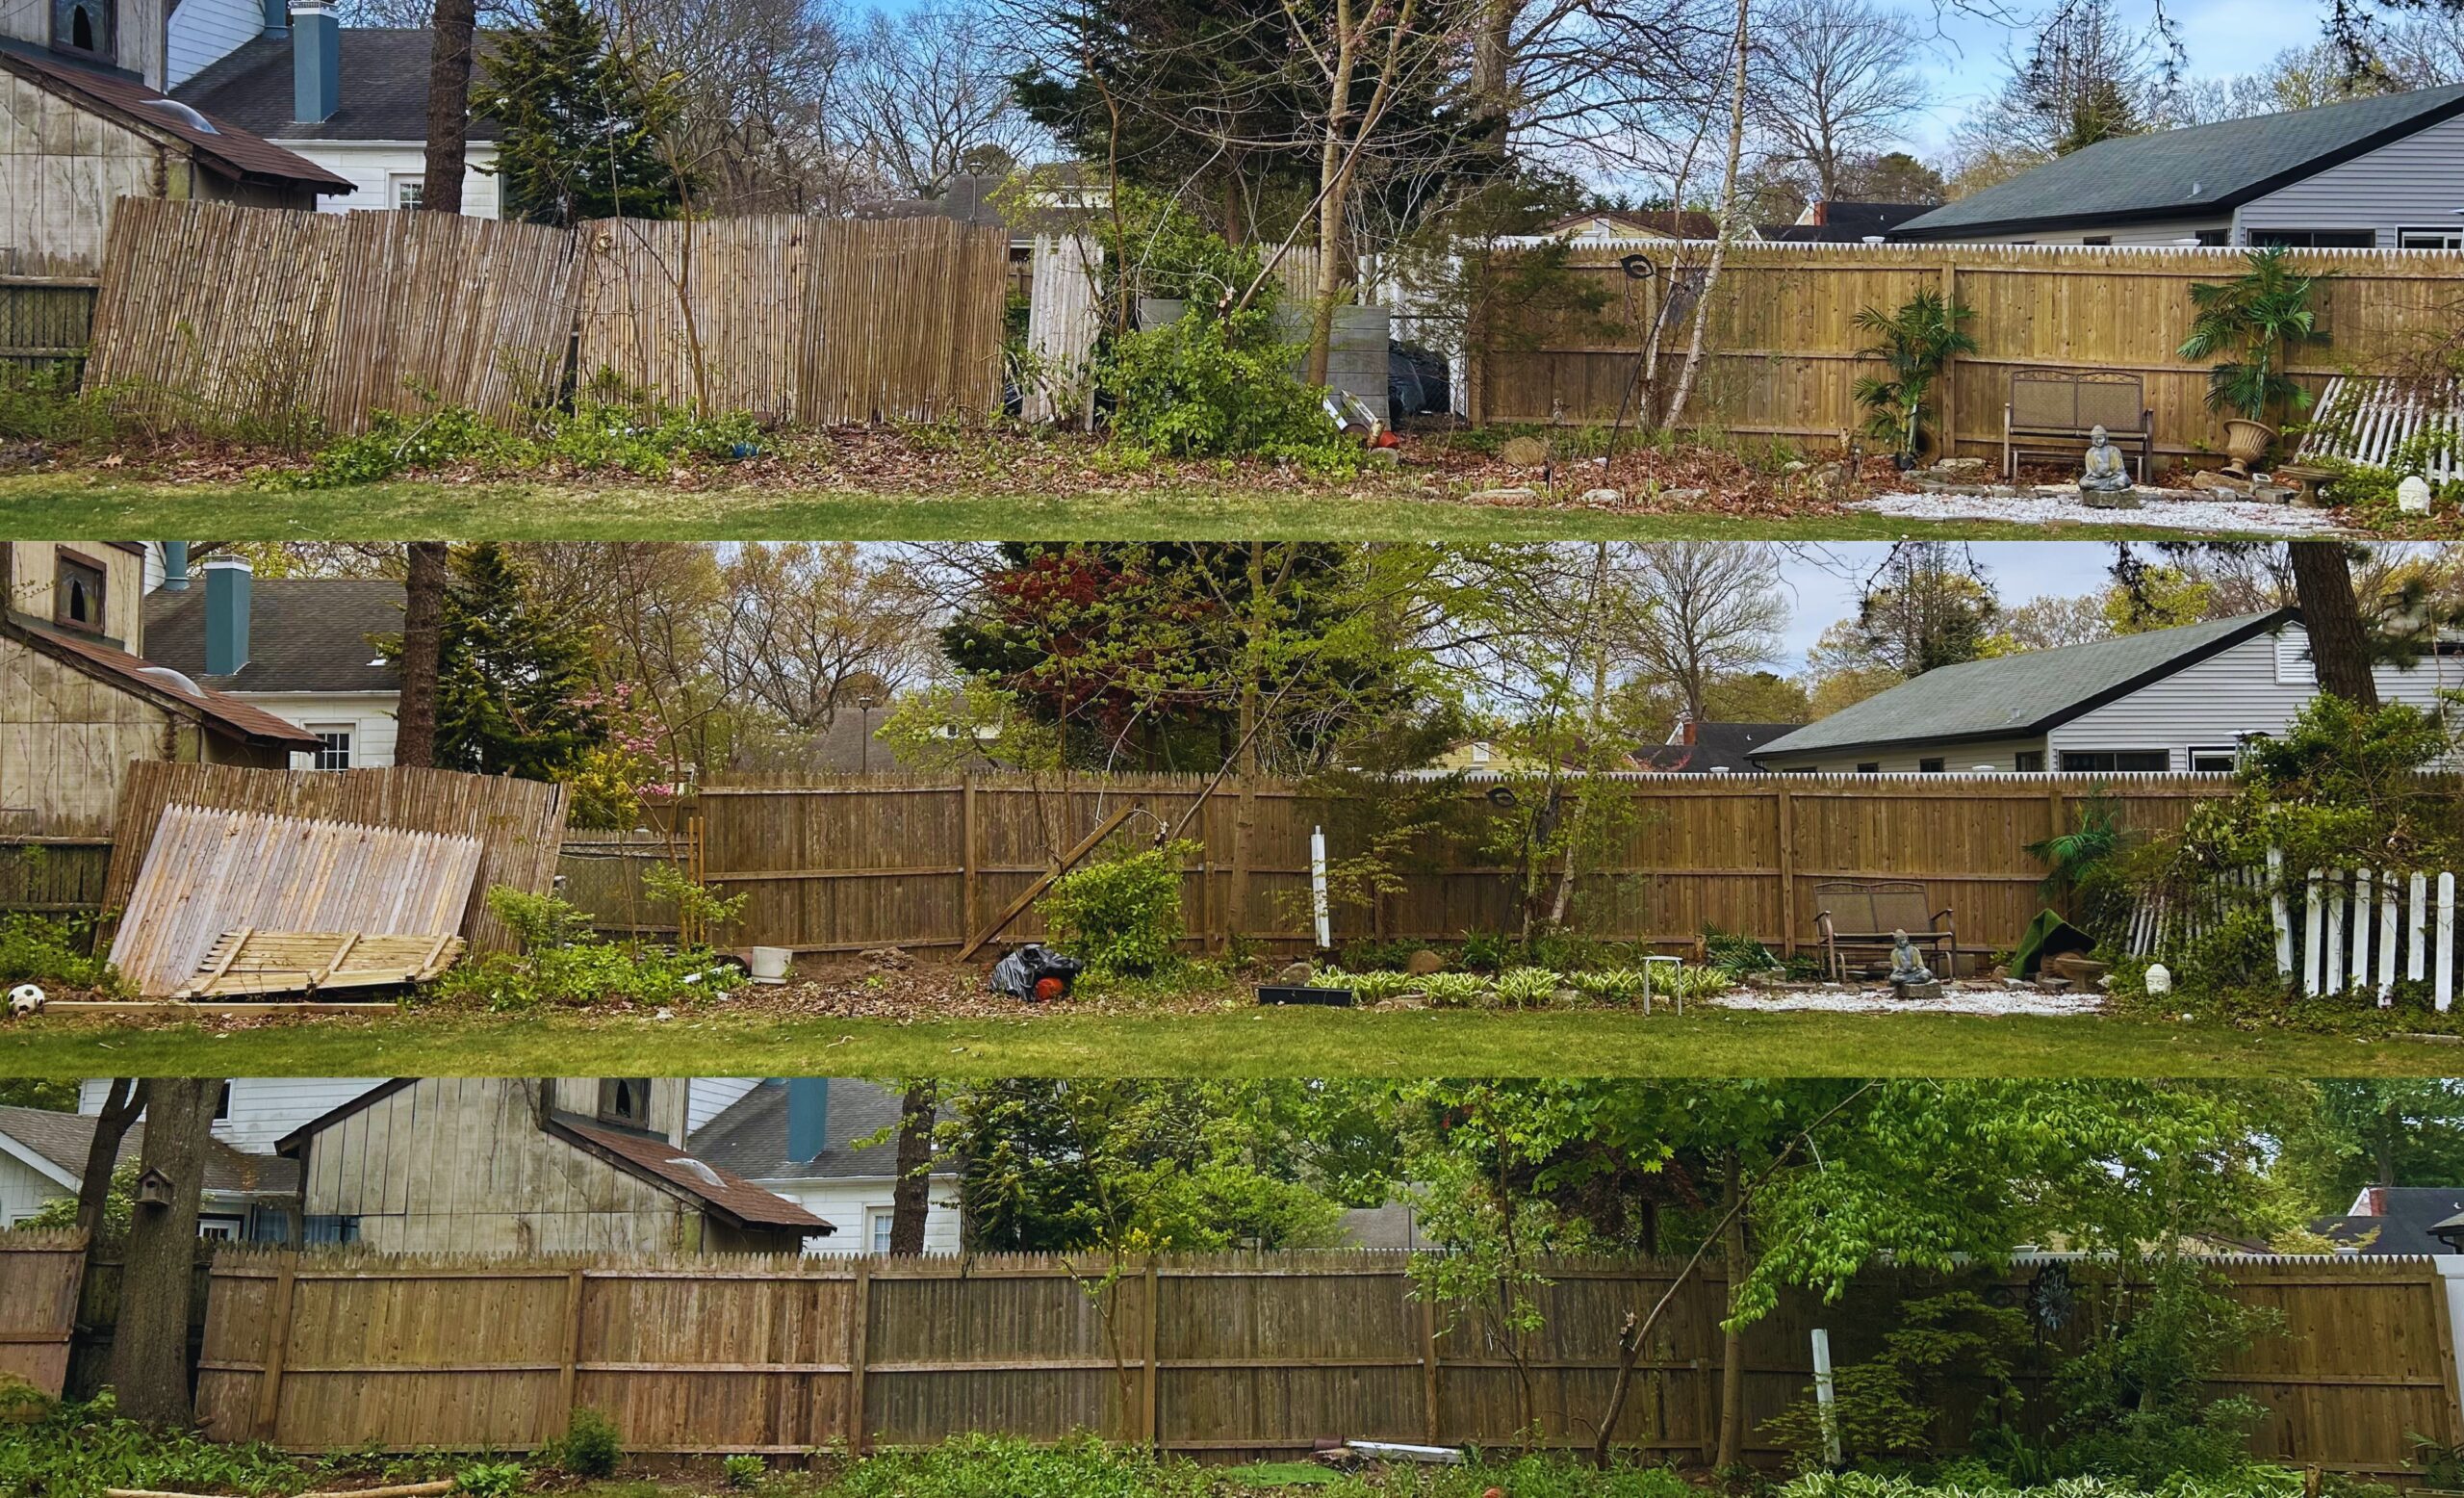
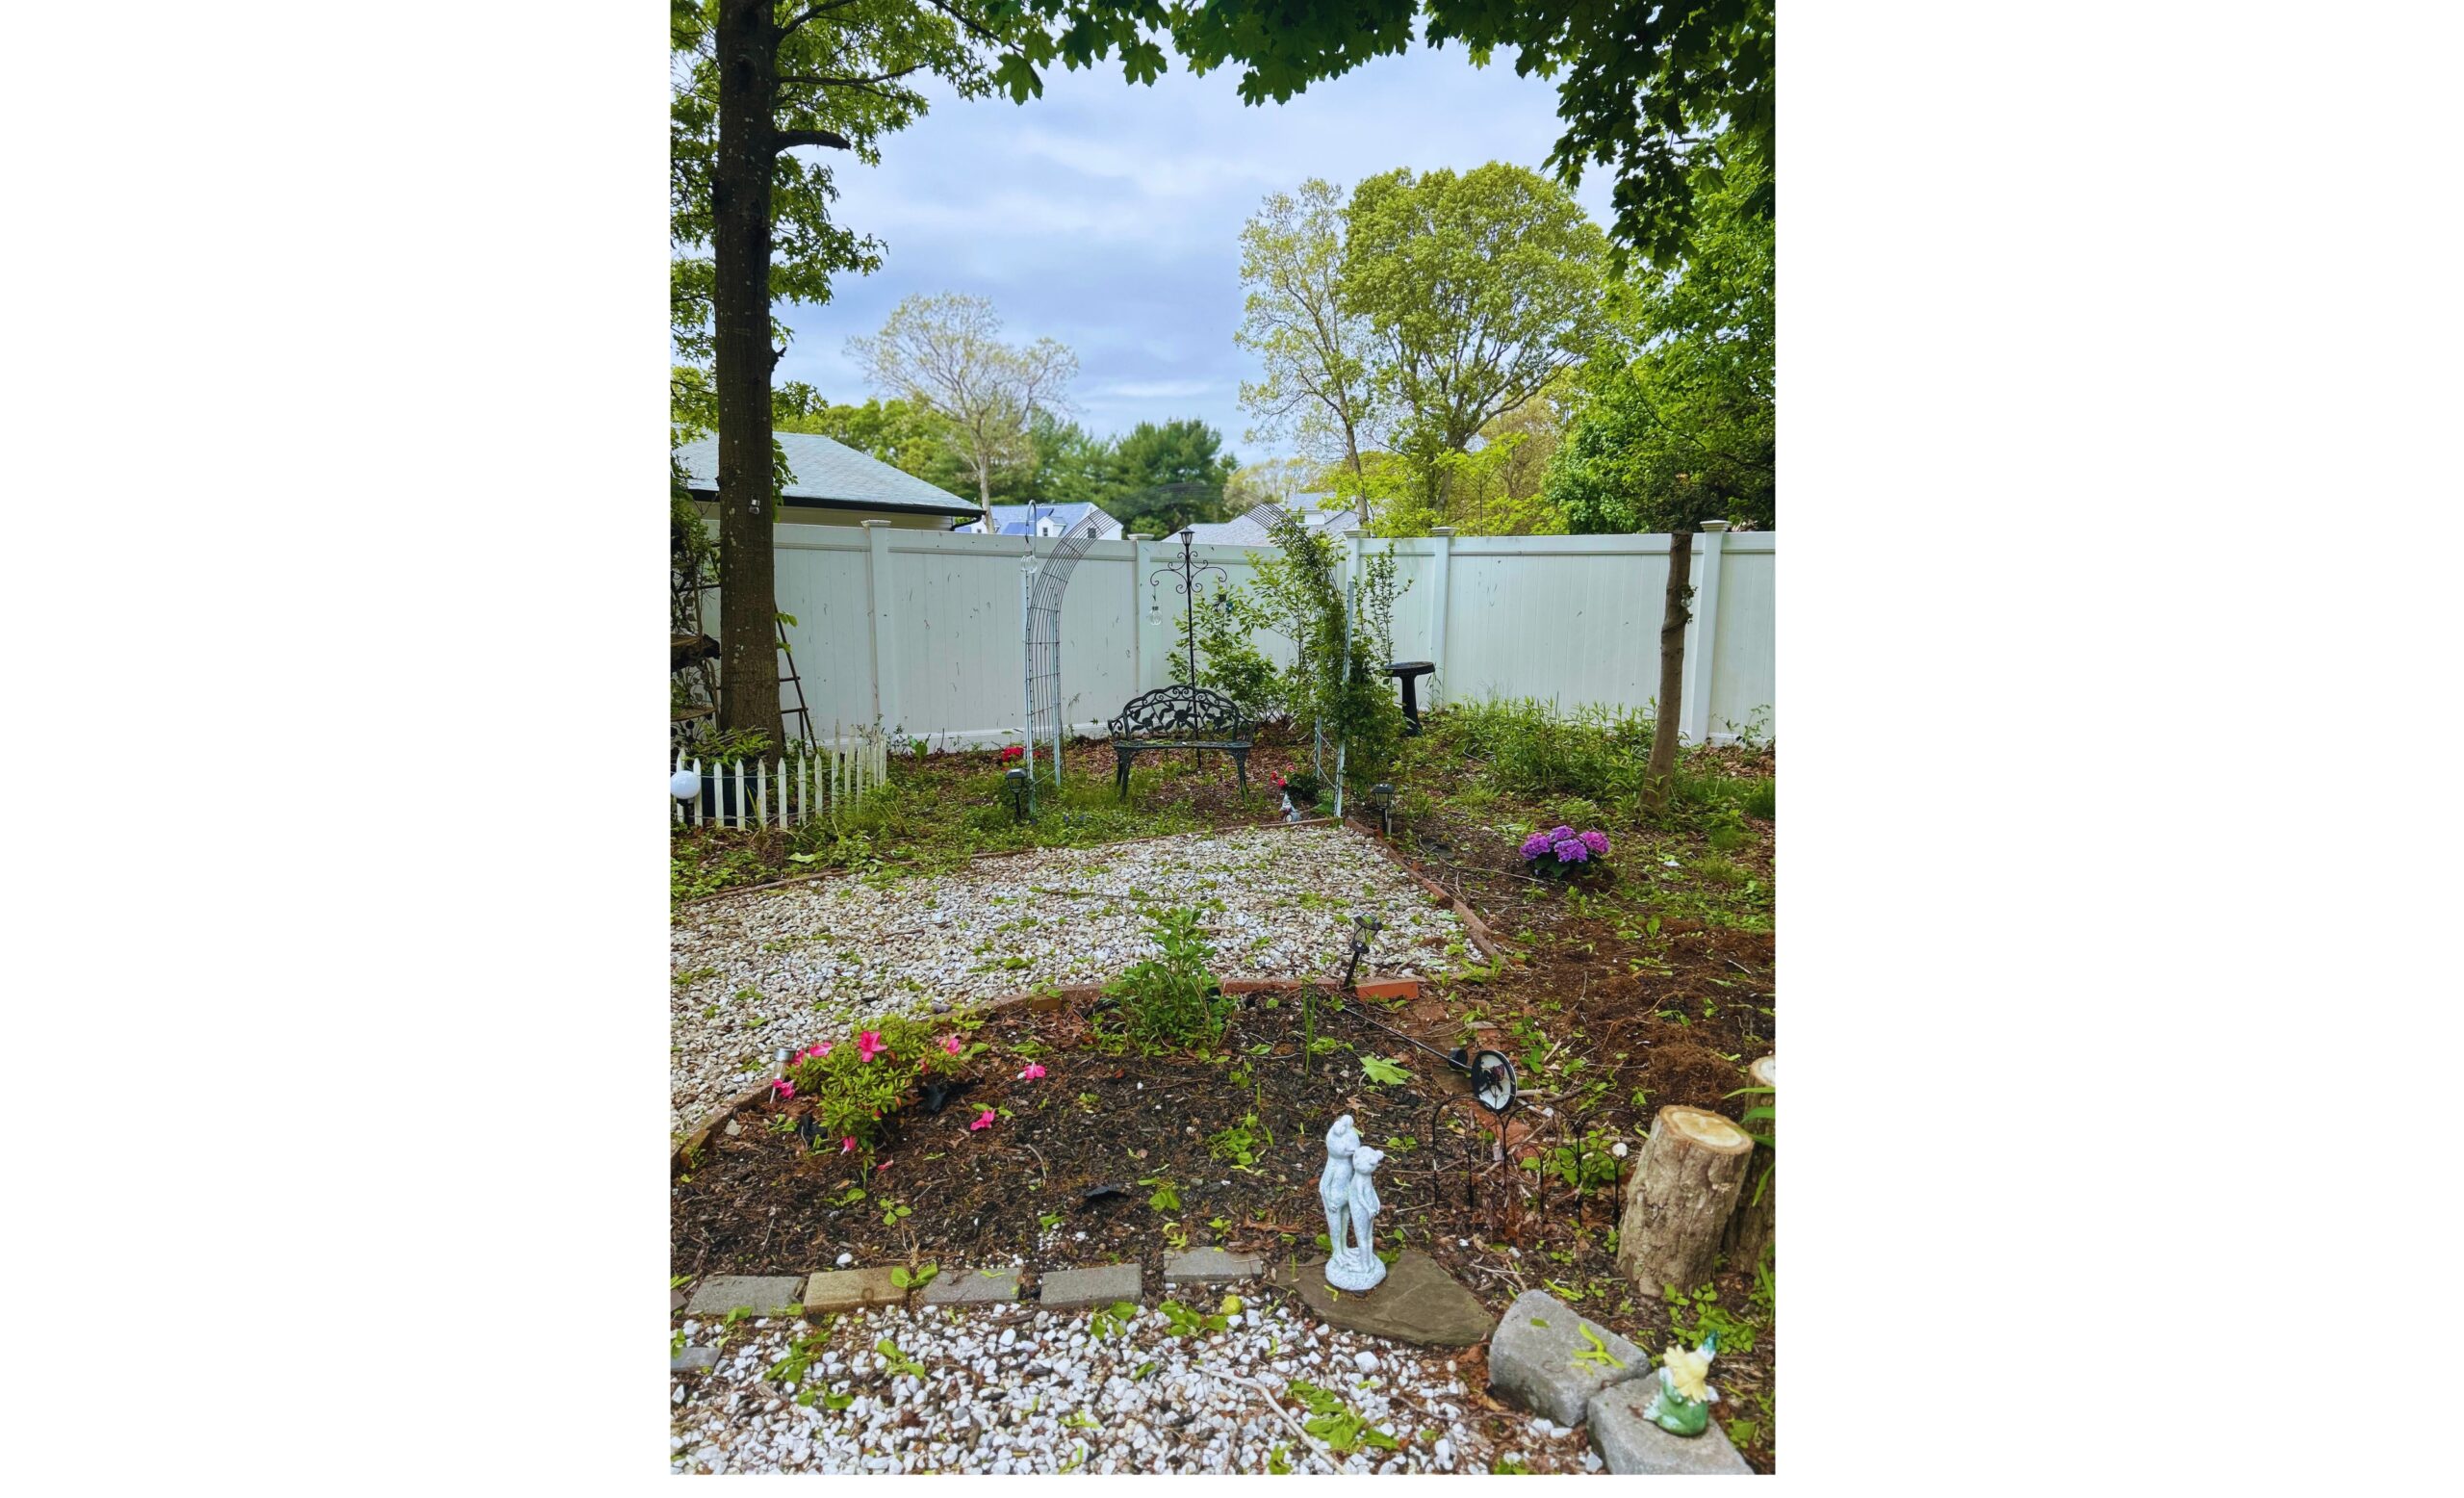
Take a moment to appreciate your accomplishment! You’ve successfully moved your fence, saved money, and given your yard a personal touch with a beautiful rustic fence.
Bonus Tip:
Consider using any leftover stain to spruce up your deck, planters, or other outdoor furniture for a cohesive and polished look throughout your yard!

