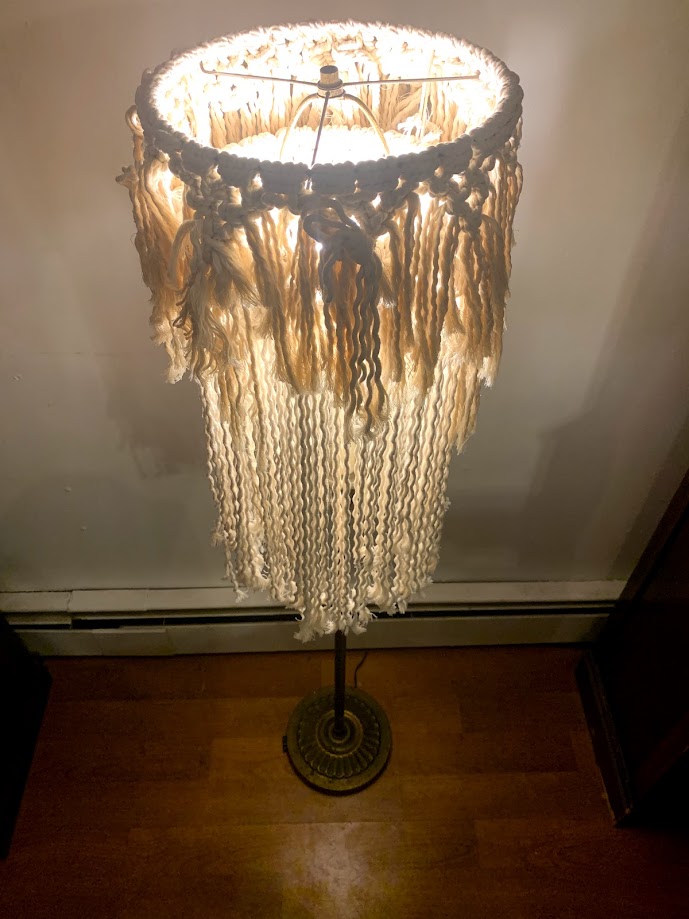
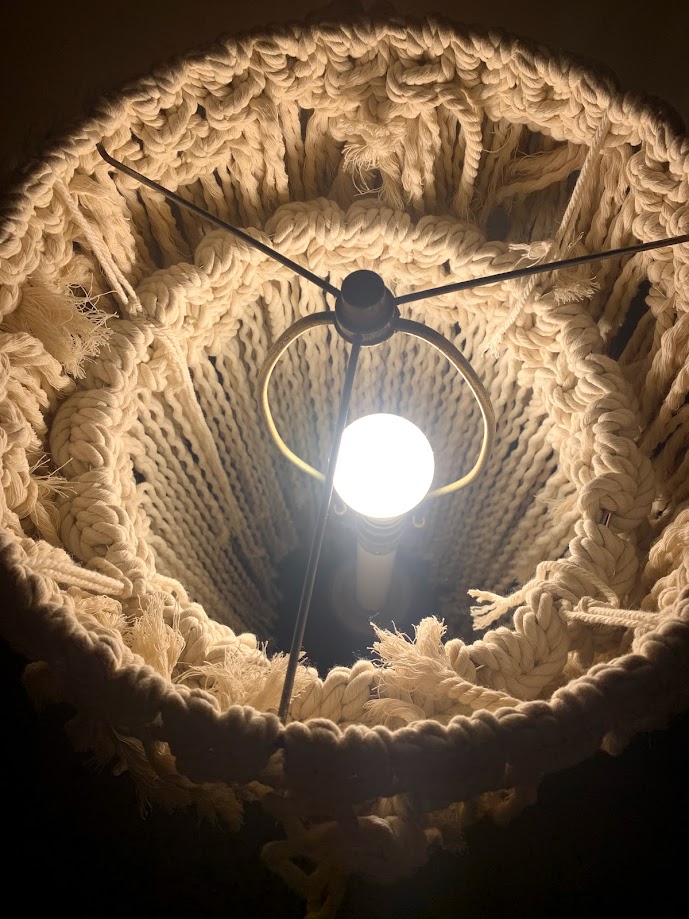
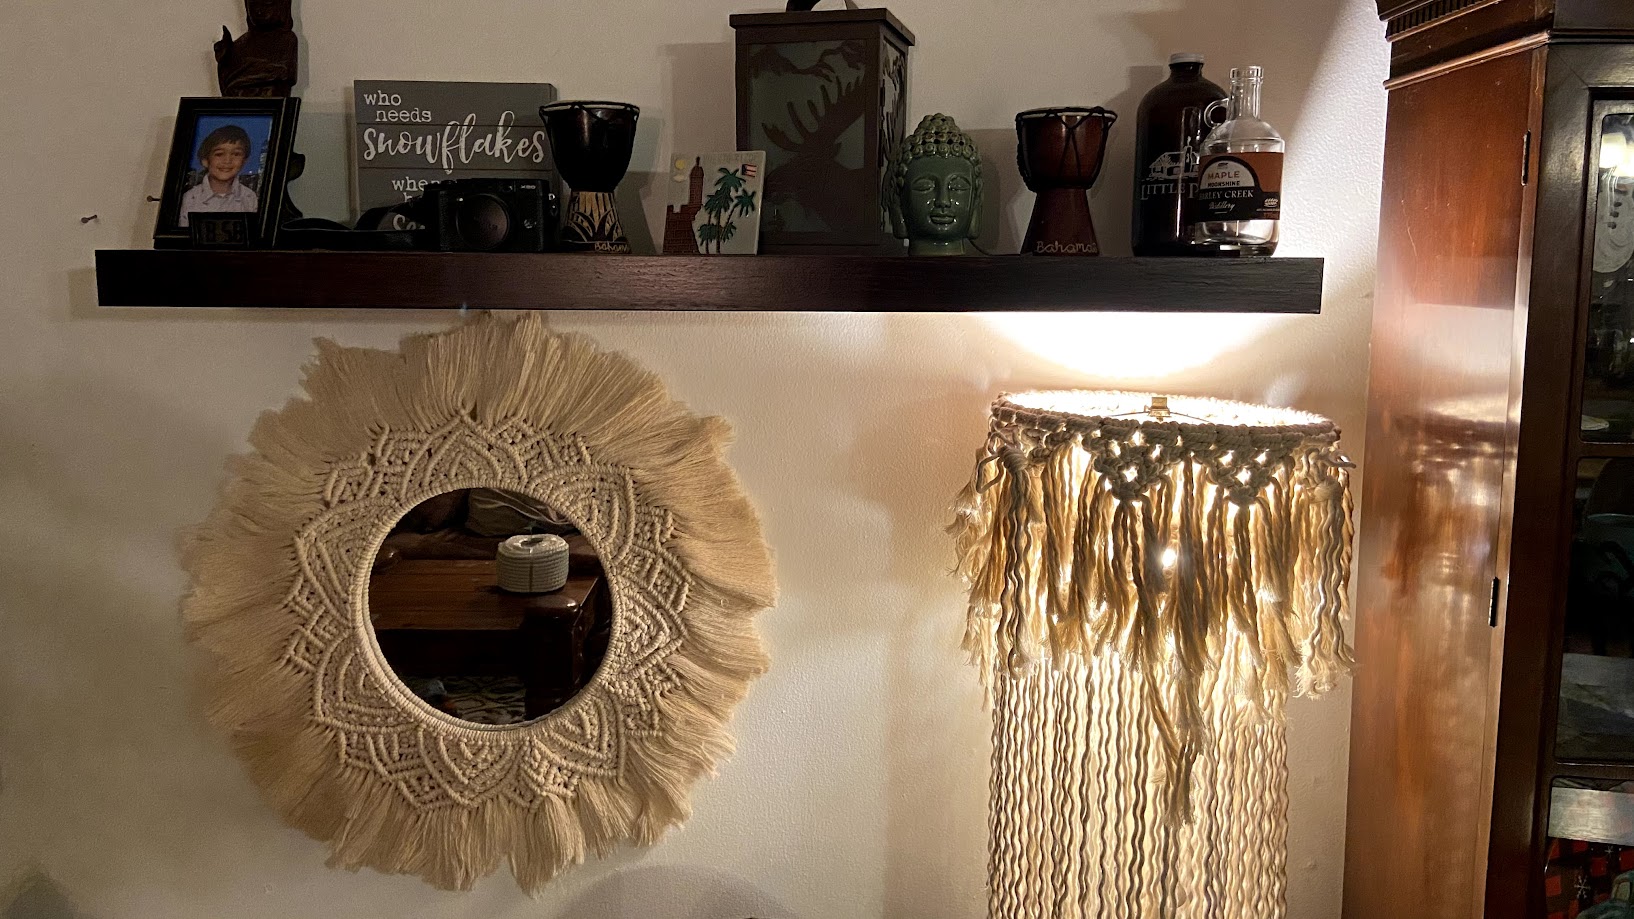
New Life into an Old Lamp: Upcycled Macramé Magic!
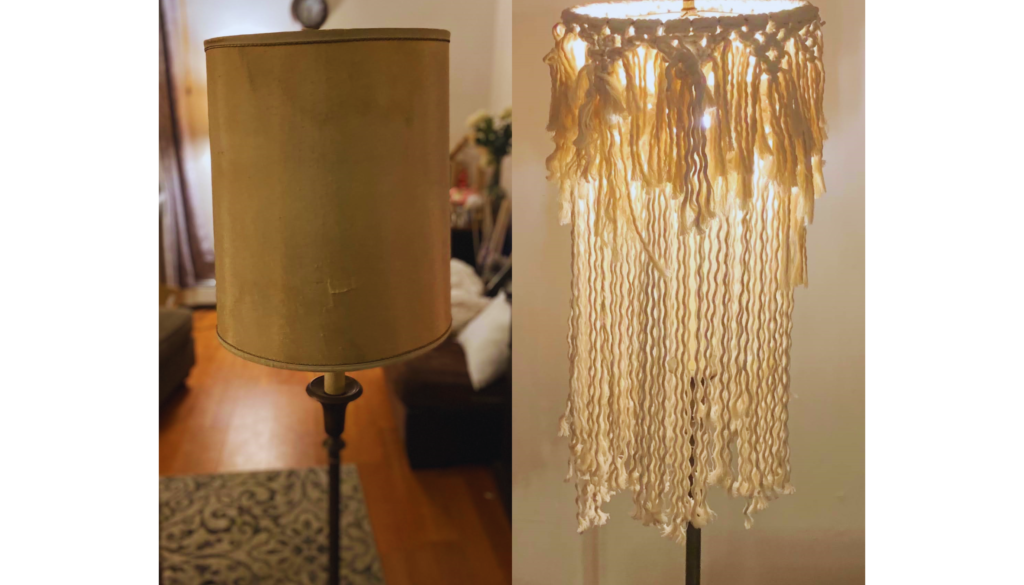
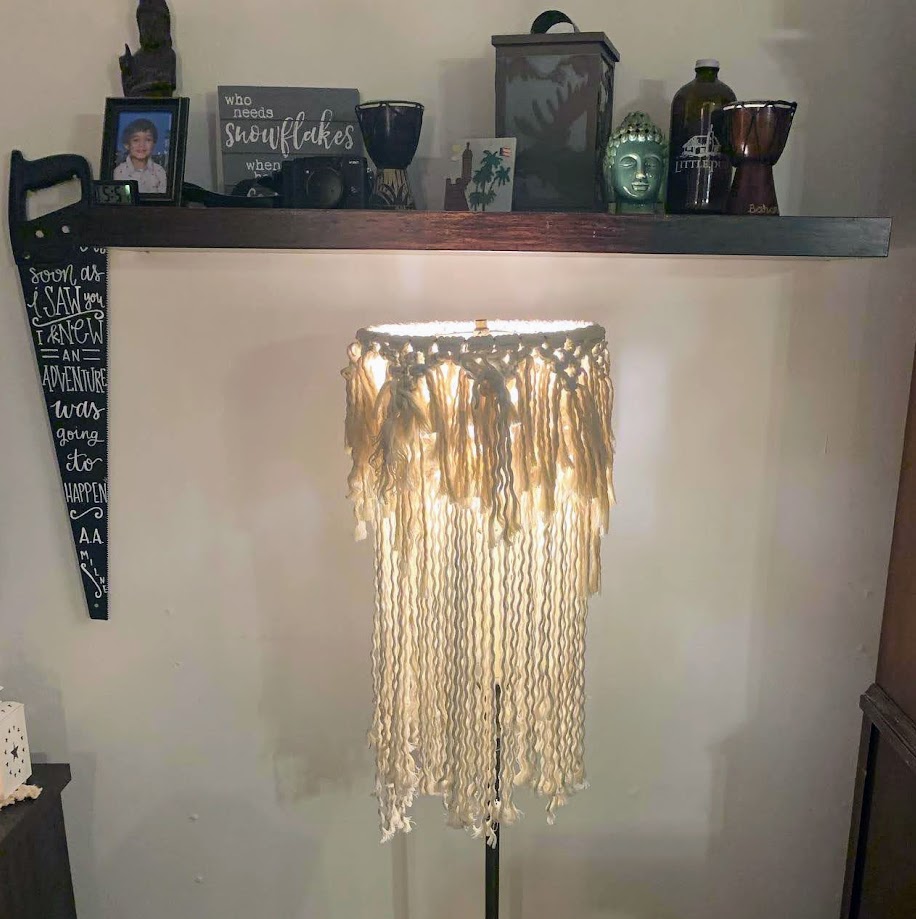
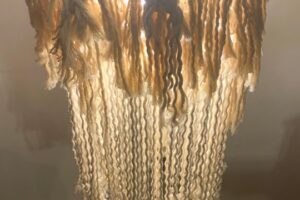
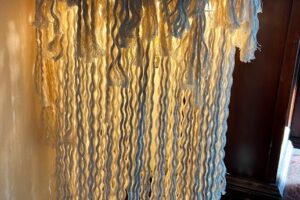
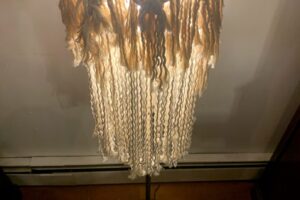
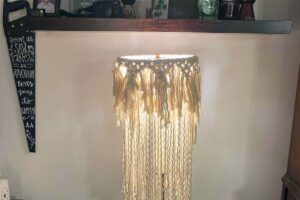
Calling all DIY enthusiasts and vintage lovers! Do you have a great-grandpa’s light fixture lurking in your attic, collecting dust and whispers of bygone eras? Don’t toss it aside just yet! With a little macramé magic and some elbow grease, you can “Upcycle Your World, One Project at a Time” and transform that outdated lamp into a stunning, bohemian showstopper for your home. This is a perfect example of how DIY projects can breathe new life into old items. Any old lamp with a circular shade can be used.
In this ultimate guide, we’ll walk you through the DIY projects step-by-step, teaching you how to:
- Clean and prep the lamp
- Craft beautiful macramé piece using basic knots
- Personalize your creation with unique flair
Before we dive in, let’s gather our supplies:
- The Star of the Show: Your great-grandpa’s lamp (or any lamp in need of a makeover!)
- Macramé Cord: Choose a thickness and color that complements your décor. Cotton cord is a popular choice for its softness and ease of use.
- Scissors: To snip your macramé cord to perfection.
- Pet Brush: An unlikely hero! This will help you brush out and neaten your macramé once complete.
Please Note: This blog may contain affiliate links and if you purchase something I may get a small commotion.
Now that you have everything you need, let’s get started!
Step 1: Lamp Liberation!
Safety First: Unplug the lamp and remove the light bulb before starting any cleaning.
Dust Bunny Blitz: Gently wipe down the entire lamp with a damp cloth to remove dust and grime. This is a crucial part of home improvement to ensure your lamp is ready for its transformation.
Shade Farewell: Carefully disassemble the lampshade and set it aside. You will only need the circular metal pieces.
Metal Marvel: If your lamp has any exposed metal parts, you can give them a gentle polish with a metal cleaning cloth to make them shine.
Step 2: Macramé Mastery – Let the Knotting Begin!
Macramé 101: Macramé is an age-old art of knotting cords to create beautiful and functional textiles. Don’t worry, it’s easier than it looks! We’ll just be using a couple of basic knots for this project. These DIY projects are a fantastic way to integrate upcycling ideas into your home.
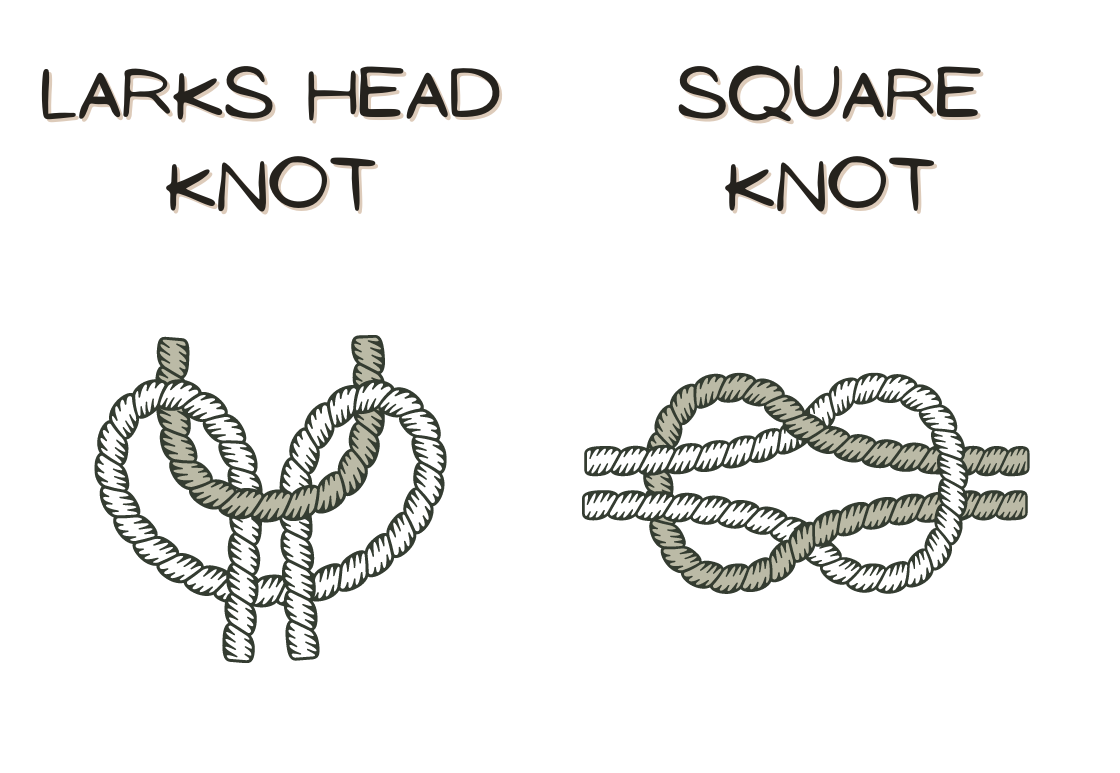
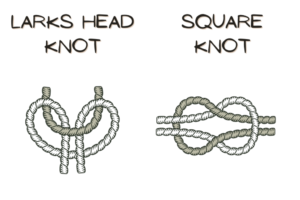
The Lark’s Head Knot: This handy knot will be your starting point, attaching your macramé cord to the lamp’s frame.
- Fold your cord in half and make a loop.
- Place the loop over the metal ring where you want your macramé to begin.
- Pull the two loose ends of the cord through the loop to tighten the knot.
The Square Knot: This is the building block of your macramé design.
- With your cords attached using the Lark’s Head Knot, separate them into two groups (usually 2 cords each).
- Take the outer cord from one group and pass it over the center cords (called anchor cords).
- Take the other outer cord and bring it under the center cords, then up through the loop created by the first cord.
- Pull both cords gently to tighten the knot. Repeat steps 2-4 with the opposite cords to complete the square knot.
Step 3: Weaving Your Magic
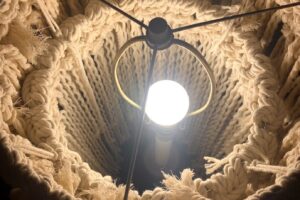
Start Small, Dream Big: Begin by creating a small ring using square knots around the topmost metal ring of the lamp. You can adjust the size of this ring to influence the overall look of your macramé shade. This approach to DIY projects lets you experiment with different upcycling ideas.
Building Blocks: Continue adding rows of square knots, working your way down the lamp’s frame. You can create a simple straight design or experiment with angled knots for a more geometric pattern.
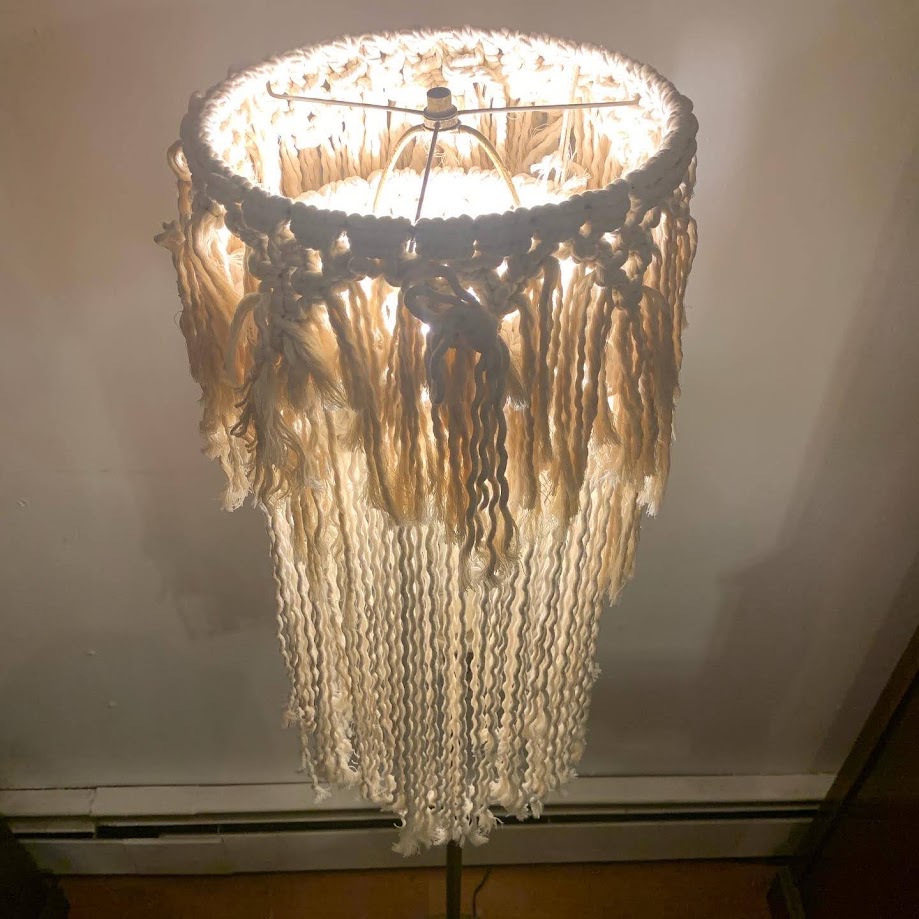
Triangle Time: Once you’ve reached your desired length, use square knots to create a triangular shape at the bottom of your macramé shade. This adds a nice finishing touch and is a great example of home improvement through creative design.
Brushing Up on Beauty: Once you’ve completed your knotting, use your pet brush to gently brush out the macramé cord. This will help neaten any stray fibers and give your creation a polished look.
Step 4: Double the Fun (Optional)
Ring Leader: Repeat steps 2 and 3 to create a separate macramé ring for the bottom part of the lamp frame. This adds dimension and visual interest to your design.
Connect the Dots: Secure the top and bottom macramé rings together using additional macramé cord. You can braid the cords for a decorative touch, showcasing some innovative DIY projects.
Step 5: Time to Shine!
Reassemble the Lamp: Carefully put your lamp back together, attaching the new macramé shade and the light bulb.
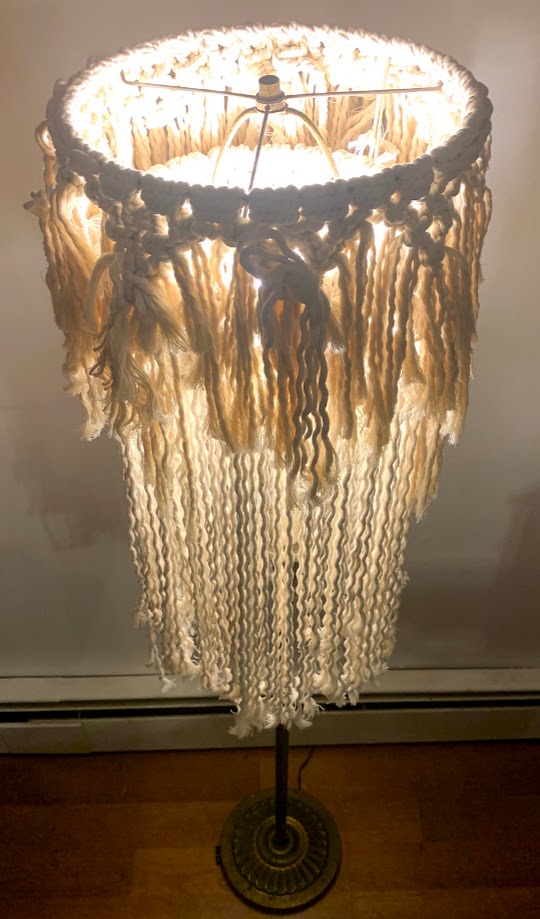
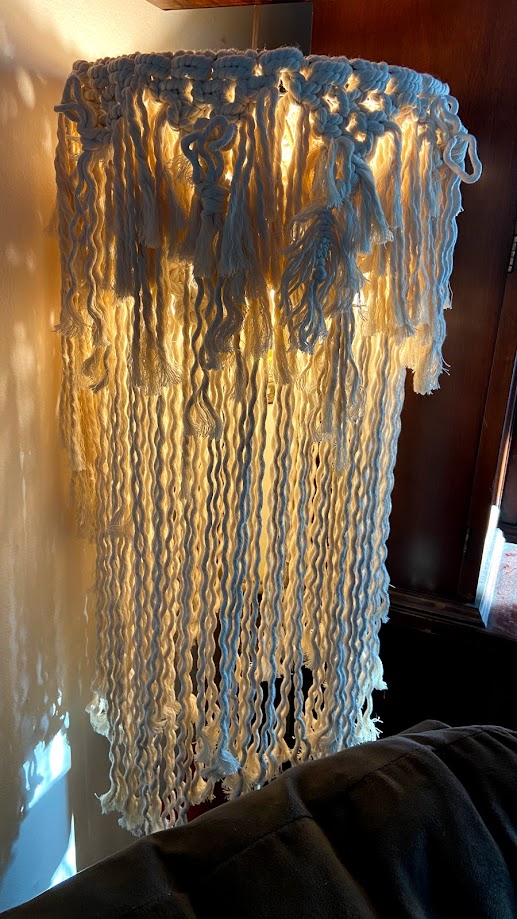
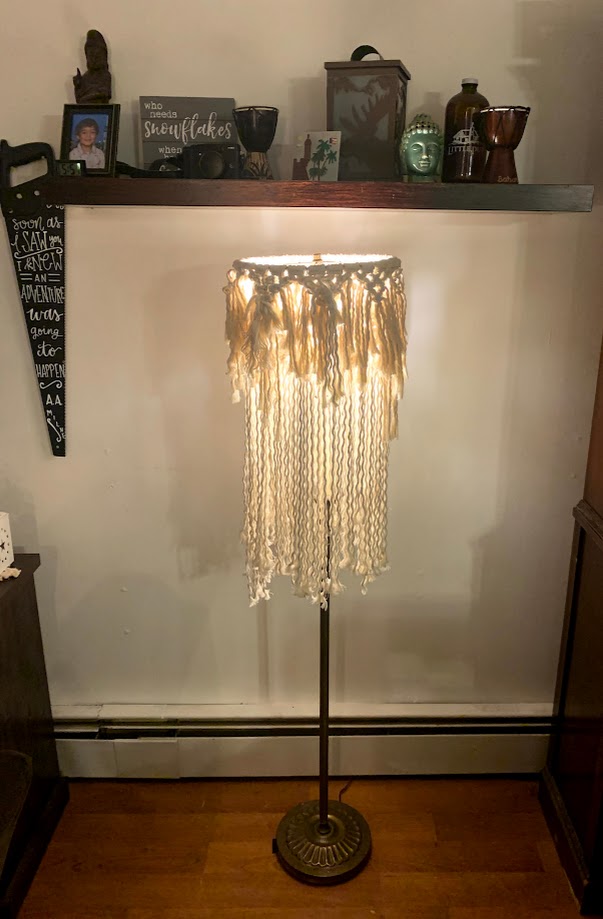
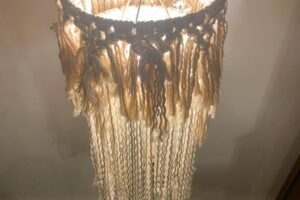
Light It Up! Plug your lamp back in and flick the switch. Admire your stunning creation – a unique blend of vintage charm and modern bohemian style. As you step back, remember to “Innovate, Create, and Elevate” your home with every project, exploring new upcycling ideas and DIY projects.
Please Note: This post contains affiliate links, which means I may earn a commission if you make a purchase through these links. Your support helps keep this content free. Thank you for your understanding and support!

