Blossoming Into Forever: The Magic of Wood Flowers for Your Wedding
Blossoming Into Forever: The Magic of Wood Flowers for Your Wedding
When it comes to wedding planning, few elements carry as much significance as the flowers. They bring color, fragrance, and a touch of nature’s beauty to your special day. However, traditional flowers come with a host of challenges: they wilt, they’re expensive, and they can be hard to manage in advance. Enter wood flowers—a revolutionary alternative that offers not only stunning aesthetics but also durability and cost-effectiveness.
In this comprehensive guide, we’ll dive deep into the world of wood flowers, exploring why they might be the perfect choice for your wedding and providing you with a step-by-step tutorial on how to create your own beautiful floral arrangements.
Why Choose Wood Flowers?
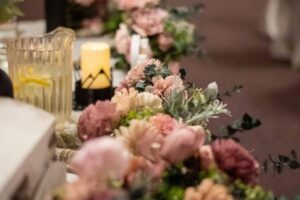
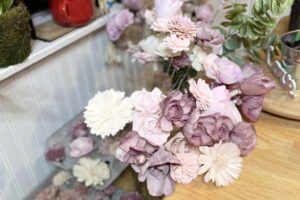
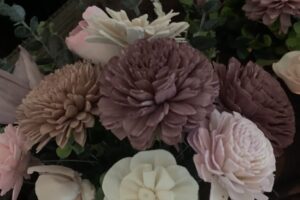
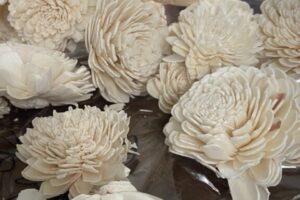
Wood flowers, made from sola wood (also known as tapioca wood), are a fantastic alternative to traditional blooms. Here are some compelling reasons why they might be the ideal choice for your wedding:
- Longevity: Unlike fresh flowers that wilt and fade, wood flowers last indefinitely. This means you can prepare your wedding décor well in advance, saving you time and stress as your big day approaches. Plus, you can keep them as keepsakes or even pass them down to future generations.
- Cost-Effective: Real flowers can be incredibly pricey, especially for larger weddings. Wood flowers offer a much more budget-friendly option without compromising on beauty. Since they’re reusable, you can also save money on future events or gifts.
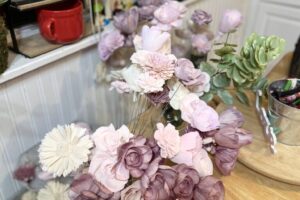
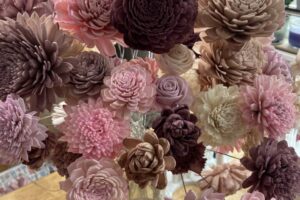
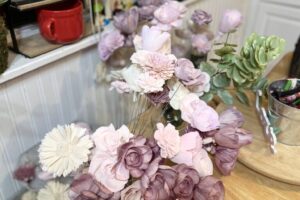
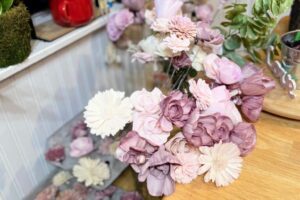
- Customization: Wood flowers come in a variety of shapes, sizes, and colors, allowing you to match them perfectly with your wedding theme. You can easily dye them to achieve any shade you desire, making them incredibly versatile.
- Allergen-Free: For guests with allergies or sensitivities to real flowers, wood flowers provide a hypoallergenic alternative. They won’t trigger sneezes or other allergic reactions, ensuring everyone can enjoy your celebration comfortably.
- Sustainability: If you’re eco-conscious, wood flowers are an excellent choice. They reduce waste compared to real flowers, which are often discarded after a single event. Plus, they’re made from renewable resources, making them a more sustainable option.
Materials List
To get started on your wood flower journey, you’ll need the following materials:
- Raw Sola Wood Flowers: Available in various shapes and sizes.
- Bowl: For mixing dye and water.
- Warm Water: To dissolve the sola softener.
- Acrylic Paint or Flower Dye: For coloring the flowers.
- Fork/Spoon or Stirring Stick: For mixing the dye.
- Tray or Rack: For drying the dyed flowers. (egg cartons)
- Parchment Paper or Paper Towels: To prevent sticking while drying.
- Sola Softener: To keep the flowers soft and pliable.
- Hot Glue Gun: To attach stems to flowers.
- Floral Tape, Fabric, or Rope: For wrapping bouquets.
- Faux Greenery: Eucalyptus leaves, boxwoods, or similar options.
Please Note: This post contains affiliate links, which means I may earn a commission if you make a purchase through these links. Your support helps keep this content free. Thank you for your understanding and support!
Step-by-Step Guide to Crafting with Wood Flowers
Step 1: Attach Flower Stems Before Dyeing
Before you begin dyeing your wood flowers, start by preparing them properly:
-
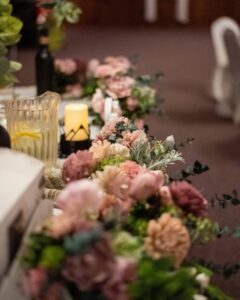
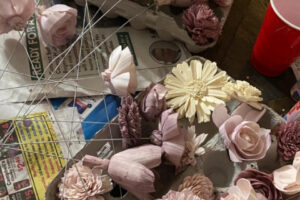
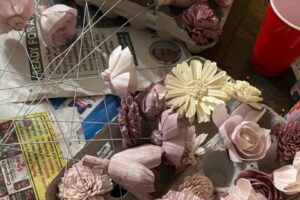
Attach Flower Stems: Using hot glue, attach stems to your wood flowers. This will make them easier to handle throughout the dyeing process and when arranging them later.
- Air Dry: Allow the hot glue to fully air dry before moving on to the next steps. You can set the flowers in egg cartons or on a wire rack to keep them upright and ensure proper drying.
Step 2: Prepare Your Dye Mixture
The next step in creating your beautiful wood flowers is preparing the dye mixture. This is crucial for achieving the right texture and color for your flowers.
- Mixing the Softener and Water:
- Begin by heating water until it reaches a boil. Add sola softener to the hot water, using a ratio of 1 part softener to 10 parts water. This mixture helps the wood flowers remain soft and flexible after they dry.
- Allow the mixture to cool before using it. This ensures the flowers will be properly saturated and retain their pliability.
- Preparing the Dye:
- In a large bowl, combine your water-softener mixture with acrylic paint or craft dye. The ratio of paint to water should start at 1 part paint to 2 parts water. Adjust the amount of paint based on how deep or light you want the color to be.
- Stir the mixture thoroughly with a fork, spoon, or stirring stick to ensure an even distribution of color and prevent clumps from forming.
Step 3: Dye the Flowers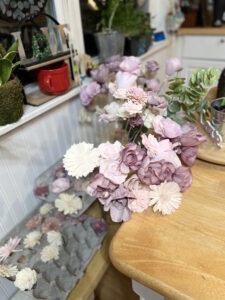
Once your dye mixture is ready, it’s time to color your wood flowers:
- Selecting and Preparing the Flowers:
- Choose the sola flowers you want to dye. For flowers with delicate petals, insert a toothpick or thin stem into the base of the flower to dip them into the dye without damaging the petals.
- Dyeing Techniques:
- For delicate flowers, dip them into the dye mixture, gently swirling to ensure even coverage. For others, immerse them fully and rotate them to cover all sides. Re-dip as necessary.
- Shaping the Flowers:
- After dyeing, you may need to reshape the petals while they are still soft. Gently fan out or fluff the petals to achieve your desired look.
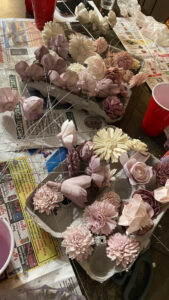 Step 4: Drying the Flowers
Proper drying is essential to preserve the color and shape of your dyed wood flowers:
- Drying Setup: Place a wire rack, egg carton, or tray lined with parchment paper or paper towels in a well-ventilated area. This will allow excess paint to drip off and prevent flowers from sticking.
- Drying Time: Allow the flowers to dry for at least 24 hours. Larger or more intricate flowers may need additional time.
- Storage: Store any excess flowers in a cool, dry place away from direct sunlight.
Step 5: Creating Elegant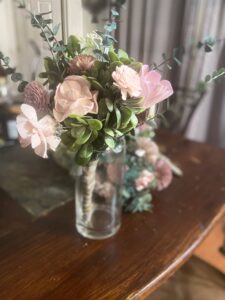 Bouquets
Once your flowers are dry, it’s time to assemble your wedding bouquets. Here’s how:
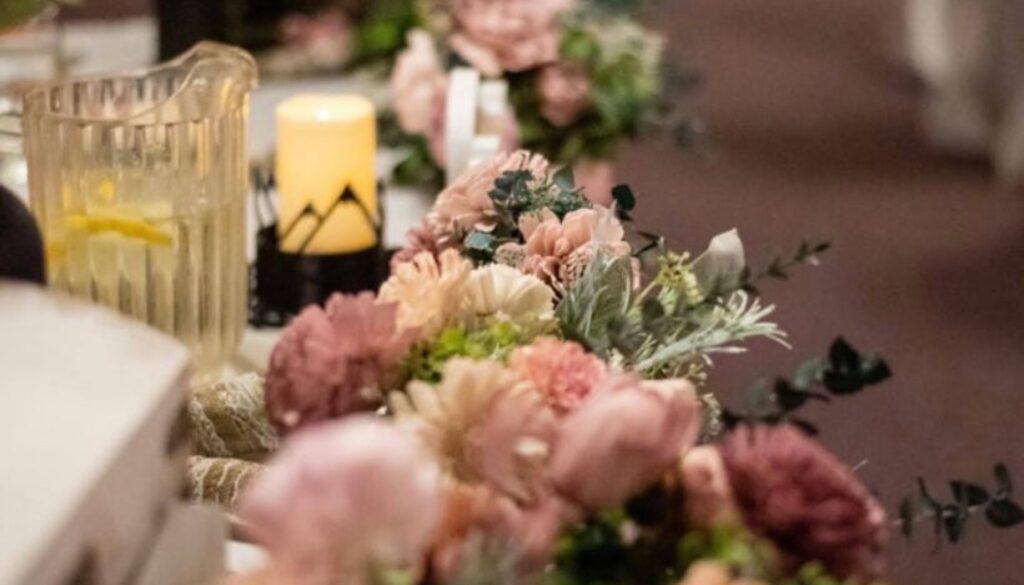
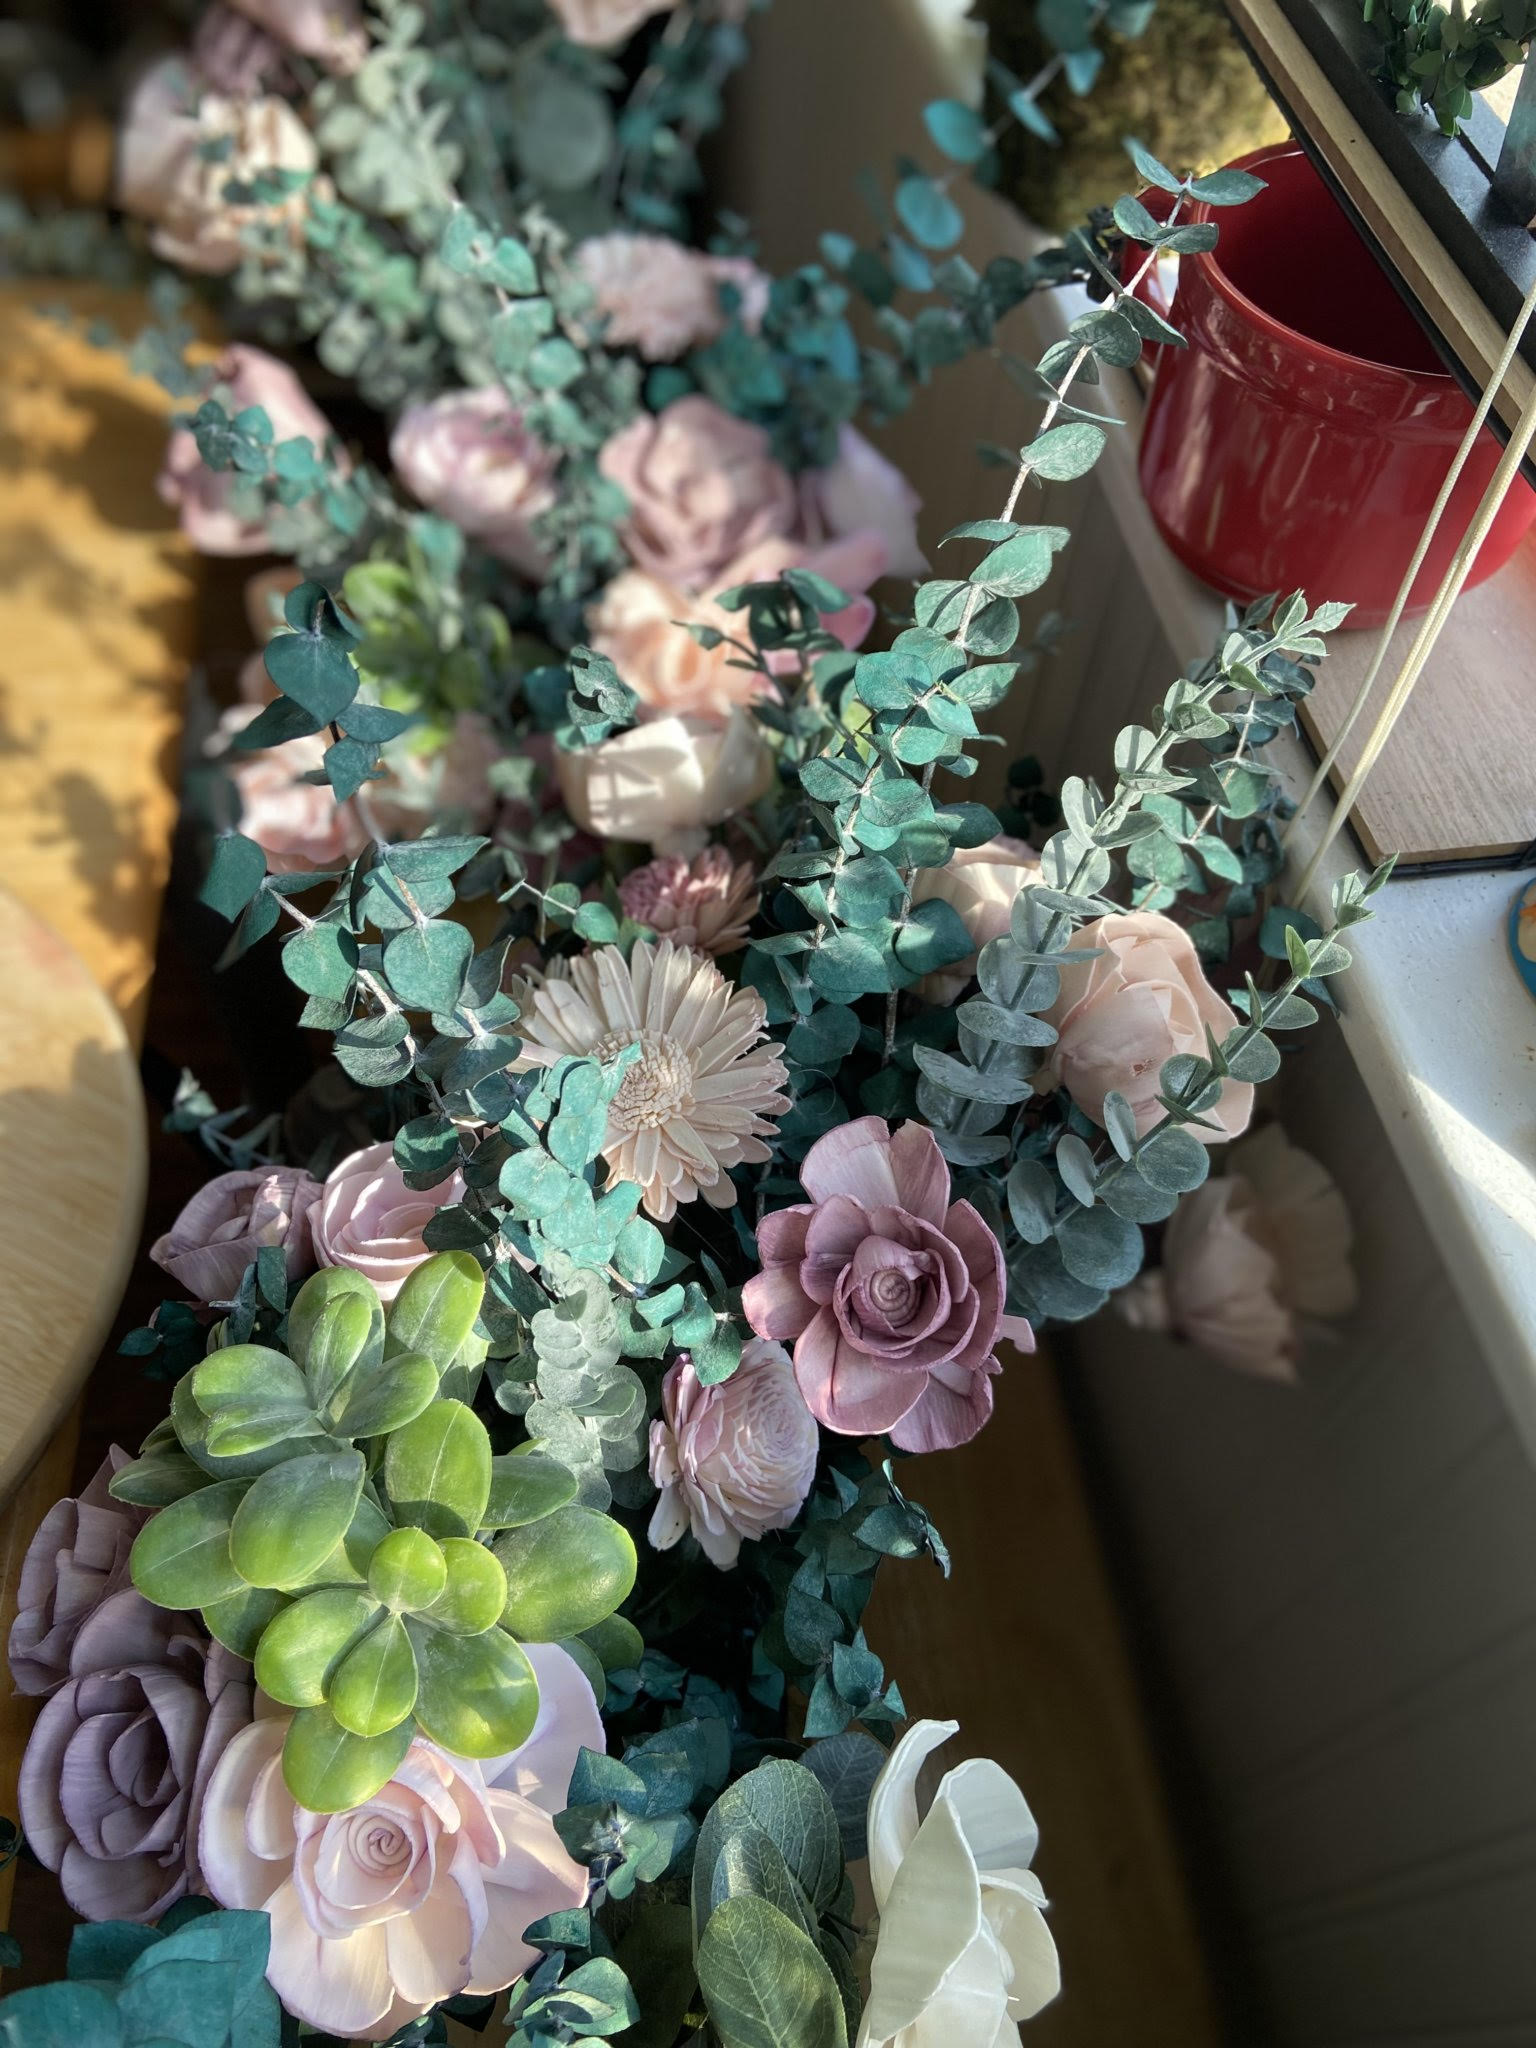
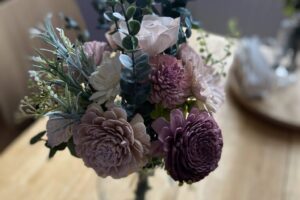
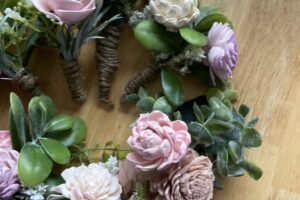
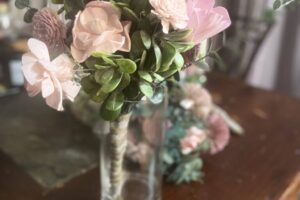
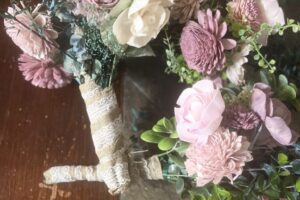
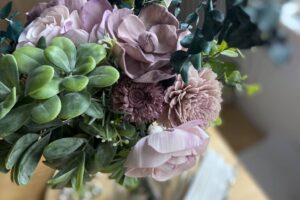
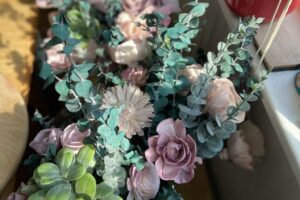
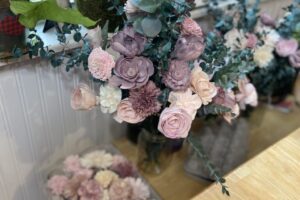
- Use Faux Greenery: Incorporate eucalyptus leaves and boxwoods to add texture and volume to your bouquet. Faux greenery adds elegance and makes your arrangement look fuller.
- Mix Sizes, Colors, and Shapes: Create depth by mixing flowers of different sizes, shapes, and colors. This adds visual interest to your bouquets.
- Wrap the Bouquet: Once you’re satisfied with the arrangement, wrap the stems with floral tape. Cover the tape with fabric or rope that matches your wedding theme and colors for a finished look.
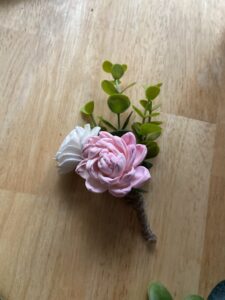 Step 6: Crafting Boutonnieres and Corsages
Small floral accents like boutonnieres and corsages add a special touch to your wedding:
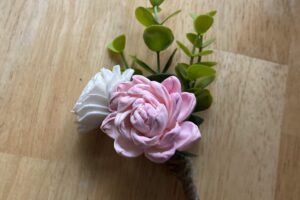
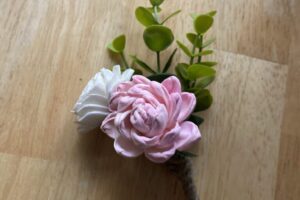
- Boutonnieres: Save the smallest flowers from your bouquet-making process. Arrange them with greenery, wrap with floral tape, and fasten them with boutonniere pins to create boutonnieres.
- Corsages: For mothers and grandmothers, use small to medium flowers. Arrange them on ribbons or elastic wristbands using hot glue to create beautiful corsages for their wrists.
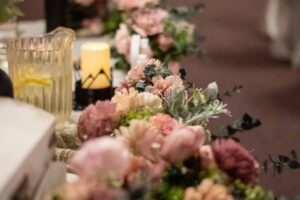
Step 7: DIY Table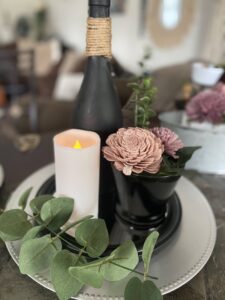 Arrangements on a Budget
With the remaining flowers, create charming table arrangements. Here’s a money-saving tip:
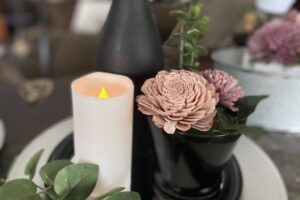
- Upcycled Flower Pots: Find inexpensive flower pots and spray paint them to match your wedding colors. Fill the pots with floral foam blocks and arrange your flowers and greenery in a beautiful pattern. This affordable DIY trick adds a personal touch to your wedding decor.
Pro Tips for Working with Wood Flowers
- Experiment with Colors: Test dye a few flowers before committing to a larger batch. Play around with different paint and water ratios to find the perfect shade.
- Mix and Match: Combine different shapes, colors, and sizes of flowers for more dynamic arrangements.
- Plan Ahead: Start crafting your floral pieces well in advance to avoid last-minute stress.
- Save on Supplies: Look for sales on wood flowers and craft materials. Major sale events like Black Friday can help you stock up at lower prices.
Frequently Asked Questions
- What kind of paint can I use on Sola flowers? Acrylic paint, craft dye, or even food coloring work well.
- How long will dyed flowers last? Properly stored, dyed wood flowers can last for many years, even forever.
- Can I re-dye the flowers? Yes, you can refresh or change their color by re-dyeing them.
- Can I use dyed flowers on a wedding cake? Yes, but be sure to wrap the stems in wax paper or foil to prevent contact with the cake.
Final Thoughts
Wood flowers offer a unique, practical, and beautiful alternative to traditional blooms. With their long-lasting nature and cost-effectiveness, they allow you to create stunning wedding arrangements that will remain cherished mementos for years to come. Whether you’re creating bouquets, boutonnieres, or table arrangements, this DIY approach can help make your special day even more memorable.
Embrace the beauty and versatility of wood flowers, and let your wedding day blossom into an everlasting memory. Happy crafting, and may your wedding be as magnificent as the flowers you create!
Sign up to the newsletter
Powered by EmailOctopus

