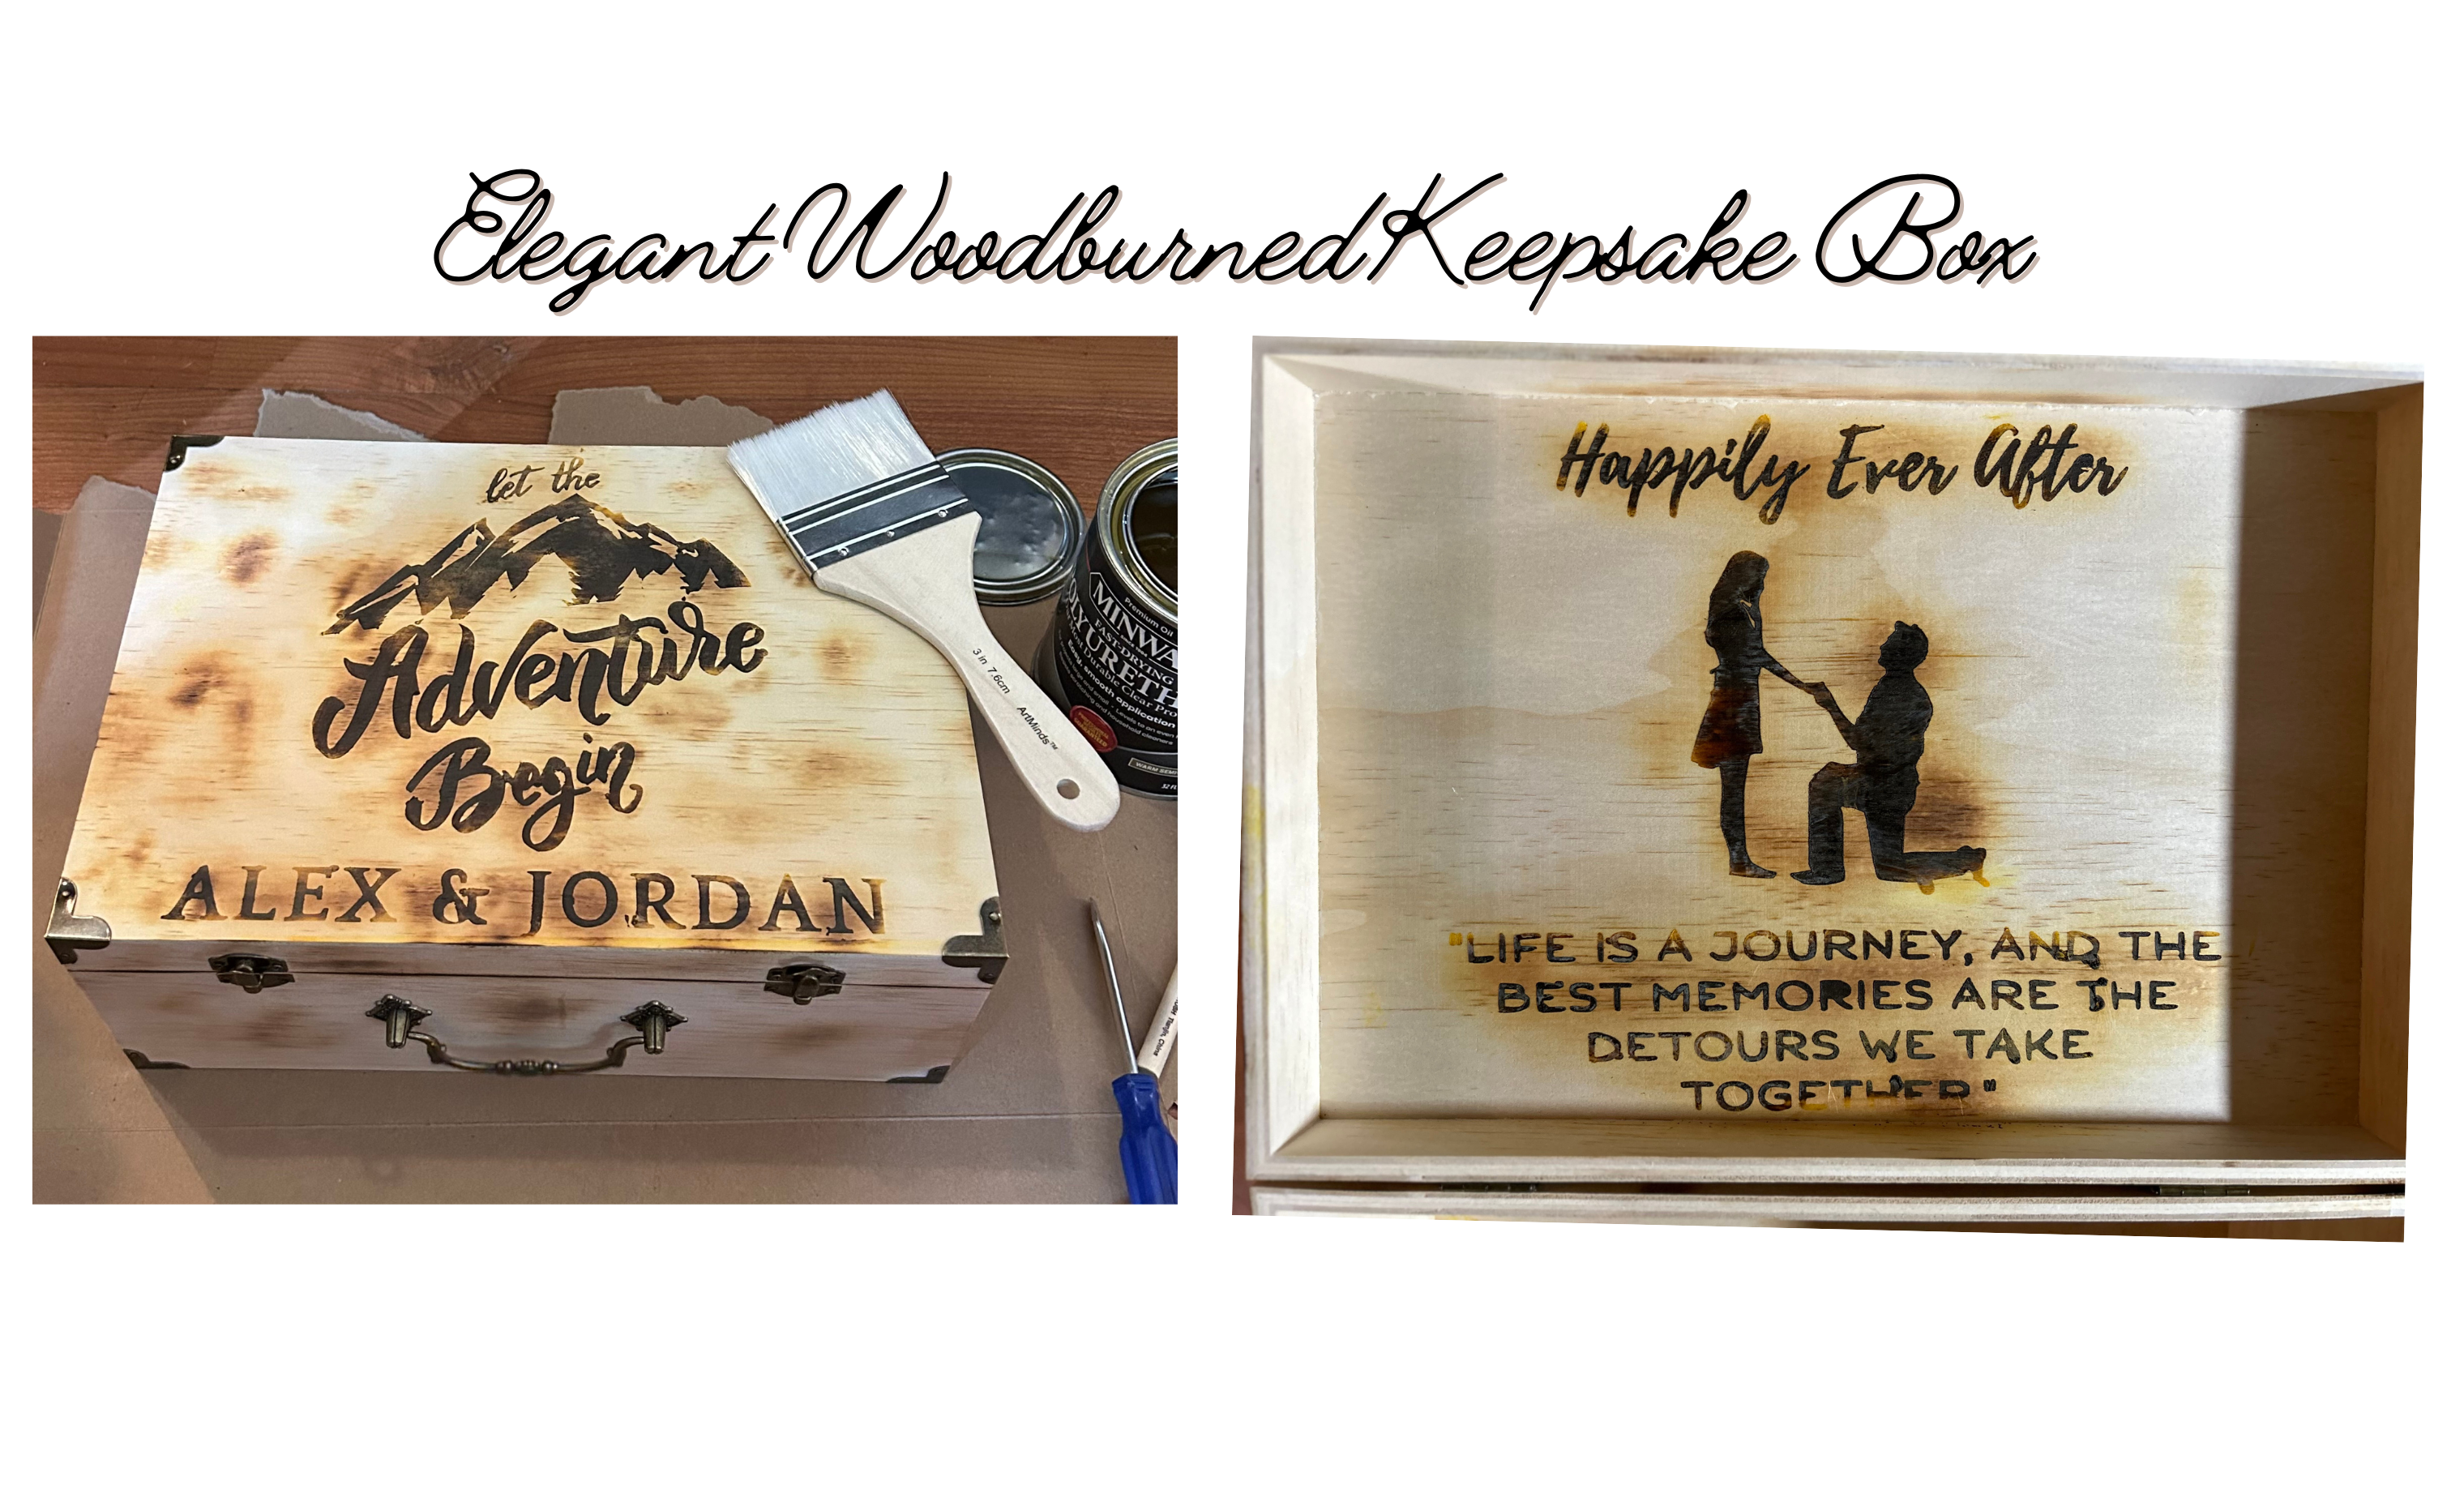
Craft a unique gift: Creating an Elegant Woodburned Keepsake Box
The Perfect Gift: Create a Stunning DIY Woodburned Keepsake Box!
Looking for a unique and stunning gift idea that goes beyond store-bought trinkets? Look no further than a DIY woodburned keepsake box! These handcrafted beauties are not only elegant but also incredibly versatile. They can hold anything from precious memories like photos and letters to sentimental trinkets like jewelry or keepsakes, making them a thoughtful gift for any occasion.
In this blog post, we’ll guide you through the process of creating your own woodburned masterpiece, from design to finish.
Gather your supplies:
- Unfinished wooden box (Choose a size that suits your intended contents)
- Pencil
- Sandpaper (various grits, from coarse to fine)
- Drop cloth (to protect your work surface)
- Design software (like Canva) (optional)
- Cutting machine (like Cricut) (optional)
- Vinyl (if using a cutting machine) (optional)
- Weeding tool (if using a cutting machine) (optional)
- Heat gun or Wood burning tool
- Paintbrush
- Wood burning solution (following the product’s instructions)
- Mineral oil (optional)
- Soft cloths
- Polyurethane (water-based or oil-based, depending on your preference)
- Foam brush
Please Note: This post contains affiliate links, which means I may earn a commission if you make a purchase through these links. Your support helps keep this content free. Thank you for your understanding and support!
Step 1: Design Your Masterpiece
Here comes the fun part! Think about the recipient and what kind of design would suit them. Will it be a floral pattern for a nature lover, a geometric design for a minimalist, or a favorite quote for someone who appreciates words?
- Brainstorming:
- Sketch some ideas on paper to get your creative juices flowing.
- Look for inspiration online or in design books.
- Consider the recipient’s hobbies and interests for a personal touch.
- Using Design Software (Optional):
- If you’re comfortable with design software like Canva, you can create your own digital design for a more polished look.
- This allows for easy resizing and manipulation of your artwork before transferring it to the box.
Step 2: Transfer Your Design
If you’d like a more precise design, consider using a cutting machine to create a stencil. This is a great option for beginners or for intricate designs.
- Create a Stencil:
- Upload your design (or a pre-existing design you found online) to your cutting machine’s software.
- Ensure it’s sized correctly for the box and choose the appropriate vinyl type for your wood burning tool (heat gun or traditional tool).
- Cut out the design using your cutting machine.
- Carefully reverse weed out any excess vinyl using your weeding tool, leaving behind your design as a stencil.
Step 3: Prepare the Box
- Sanding:
- Lay down a drop cloth to protect your work surface.
- Using coarse sandpaper, start by sanding the entire box to remove any rough spots and imperfections.
- Gradually progress to finer grits of sandpaper to achieve a smooth and even surface.
- Wipe away any dust with a clean cloth.
- Optional Staining:
- For a richer look, consider applying a coat of wood stain in your desired color.
- Follow the manufacturer’s instructions for application and drying time.
Step 4: Apply the Stencil
- Carefully place your vinyl stencil on the box, ensuring it’s straight and even.
- Use a burnishing tool or even a credit card to gently press the stencil onto the wood, creating good adhesion.
- Apply the woodburning solution to the box inside the stencil.
- Once dry, carefully peel off the stencil.
Step 5: Wood Burning Magic!
- Heat Gun or woodboring tool:
- Safety First! Wear safety glasses and gloves when using a heat gun.
- Following the manufacturer’s instructions, carefully use the heat gun to activate the wood burning solution.
- Keep the heat gun moving to avoid scorching the wood.
- Work in small sections and periodically to check the progress.
Step 6: Let it Dry
Allow the woodburned design to dry completely before proceeding.
Step 7: Finish your masterpiece
- Apply polyurethane to protect your work and allow it to dry.
Sign up to the newsletter
Powered by EmailOctopus


