From Patch to Path: Creating a Welcoming Walkway
Walkway Project Photos
From Patch to Path: Creating a Welcoming Walkway (with Upcycling!)
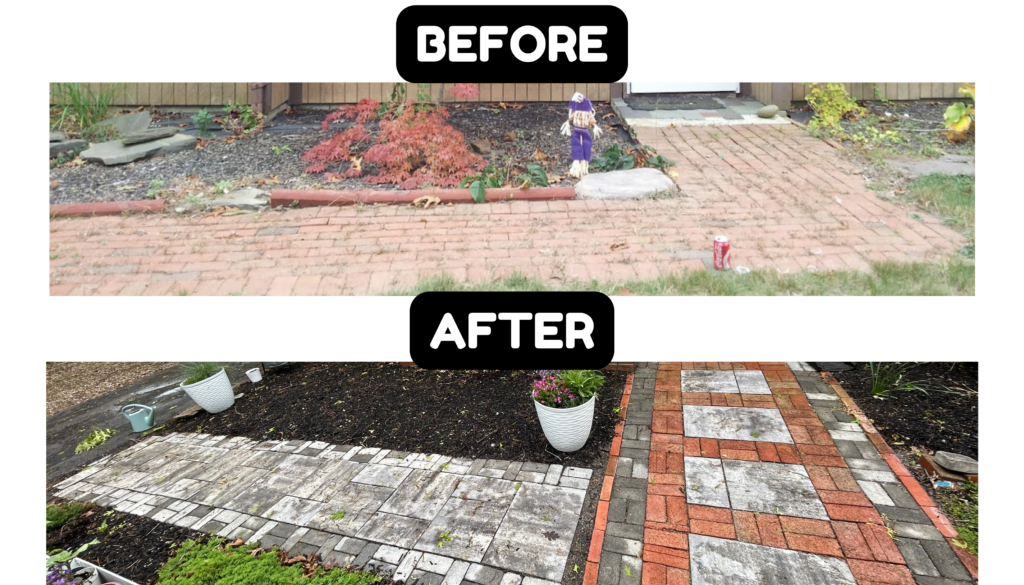
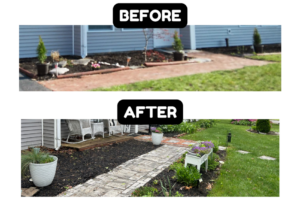
Tired of your lawn becoming a shortcut? Here’s how I transformed my neglected walkway into an inviting path with a touch of upcycling!
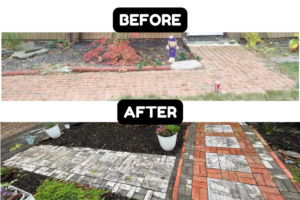
The Problem: My house had a straight path of red bricks – not in great shape, and definitely not encouraging anyone to use it. People just cut through the grass, creating an unsightly patch of dead grass.
The Solution: A welcoming curved path!
Materials:
- Measuring tape
- Sand (for leveling and filling gaps)
- Push broom
- Shovel
- Polymeric sand (optional, for a more permanent finish)
- Work gloves
- Tamper
- Rubber mallet (for knocking bricks into place)
- Level
- Pavers (enough for your desired path design)
- Existing walkway materials (bricks, stones, etc.) (optional)
Please Note: This post contains affiliate links, which means I may earn a commission if you make a purchase through these links. Your support helps keep this content free. Thank you for your understanding and support!
Step 1: Measure & Plan:
- Measure the distance from your doorway to where you would like the walkway to start.
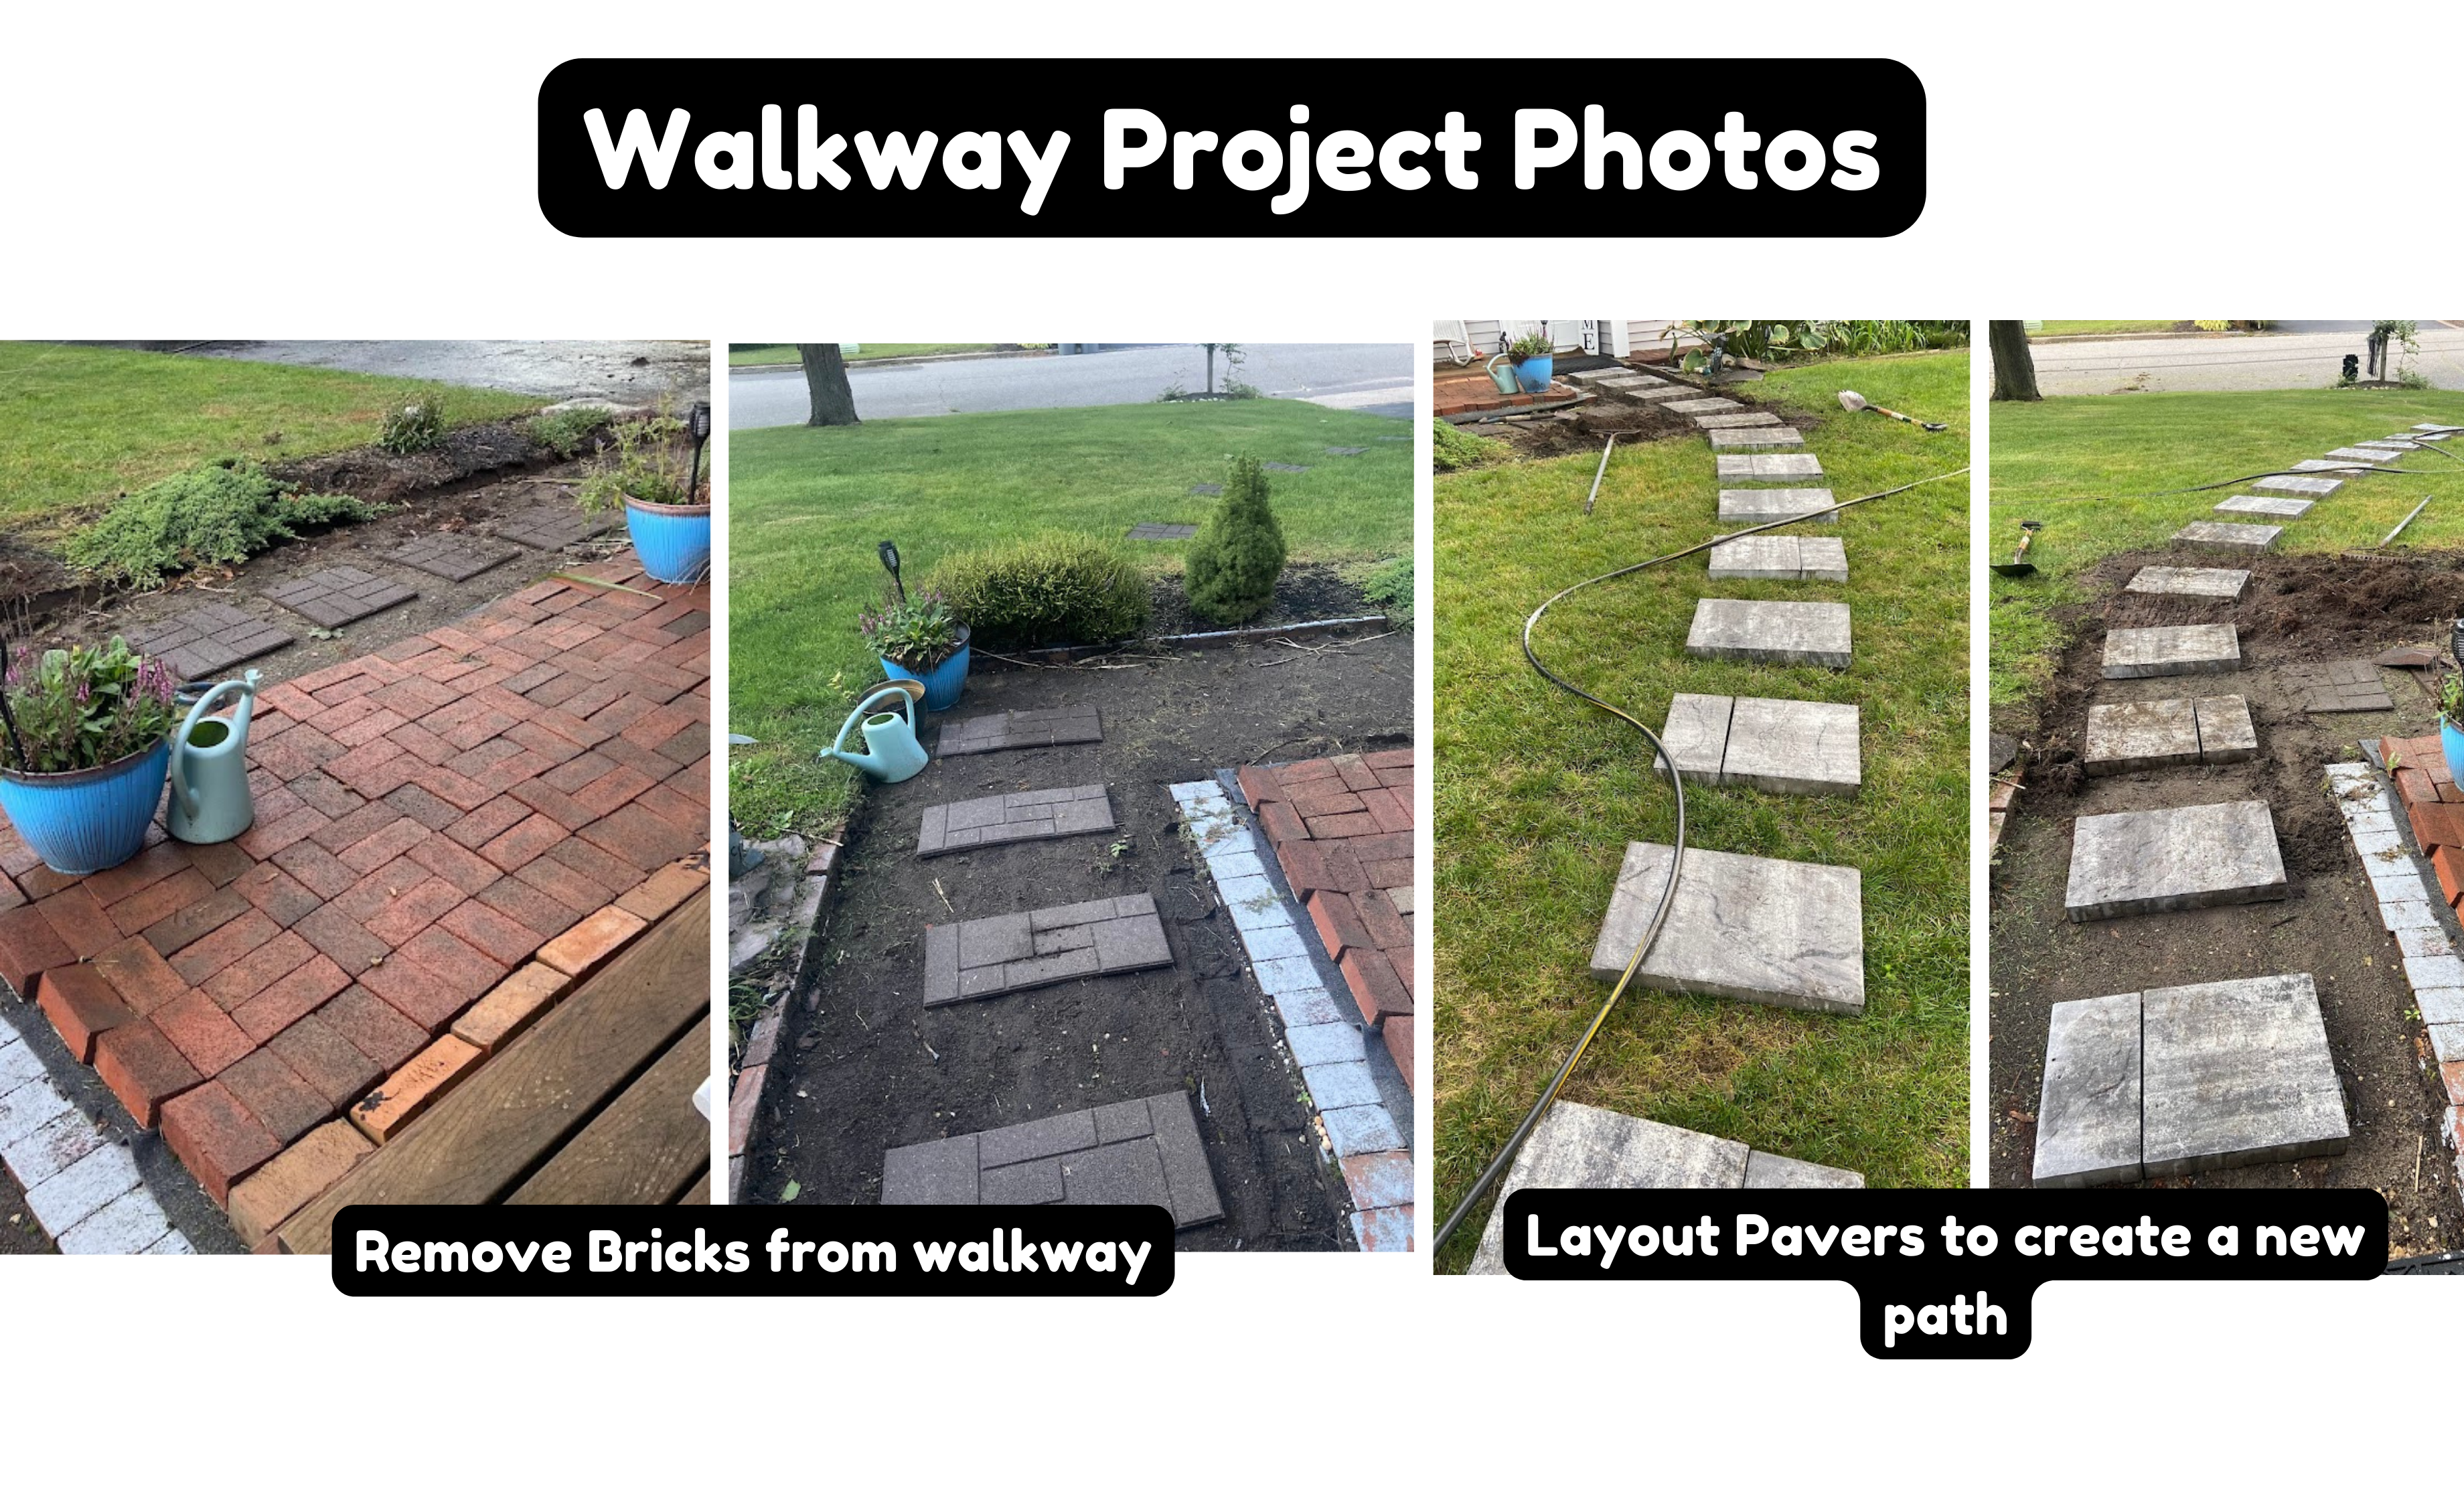
- Decide on a design for the path. Do you want it straight, curved, or a combination? Sketch your design or use a garden hose to lay out the curved path.
Step 2: Prepare the Base:
- Using your shovel, carefully remove any existing walkway materials or vegetation along your planned path.
- Dig a shallow trench (depth will depend on your chosen pavers) to create a level base for your new walkway. Aim for a slight slope away from your house for drainage.
Step 3: Pavers for the Path:
- Choose your pavers and purchase enough for your desired path design. Consider visiting your local garden store for inspiration and advice on selecting the right pavers for your project.
Step 4: Layout & Dig (New Pavers):
- Following your design, lay out the pavers on the prepared base, ensuring even spacing.
- Dig individual shallow holes for each paver to sit in, ensuring a level surface. Use your level and adjust the depth of the holes as needed.
Step 5: Upcycle Time! (Existing Walkway Materials):
- Here’s where you can save some money! Carefully remove any salvageable materials from your existing walkway (bricks, stones, etc.).
- Use these upcycled materials to create a border around your new paver path, adding a unique touch and saving resources.
Please Note: This post contains affiliate links, which means I may earn a commission if you make a purchase through these links. Your support helps keep this content free. Thank you for your understanding and support!

