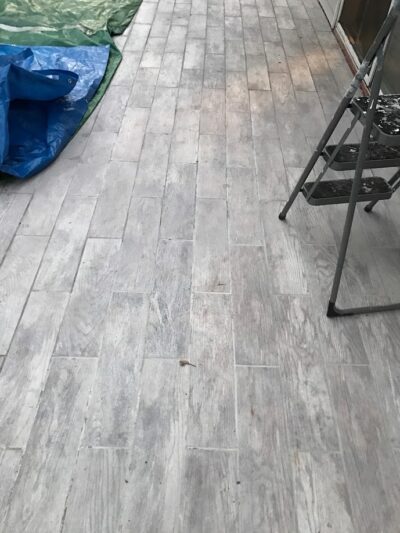
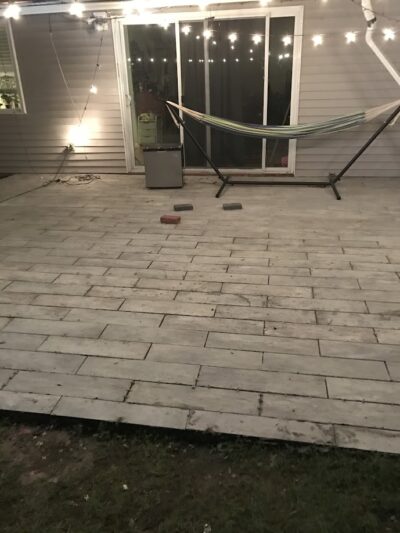
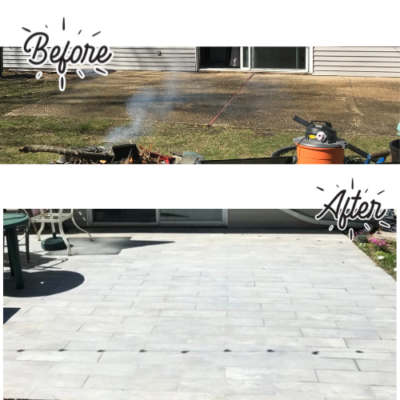
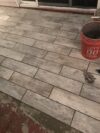
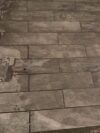
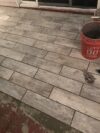
Transform Your Concrete Patio: A Fun & Easy DIY Tile Makeover Guide
Is your concrete patio an eyesore? Do you dream of a chic outdoor space that radiates style and sophistication? Tiling over your concrete patio can be a game-changer, turning a bland slab into a stunning outdoor haven. At DIYdalia’s, we believe that when you Innovate, Create, and Elevate, you can Transform Your Space, Transform Your Life. This guide is designed to walk you through the process, making it one of the most rewarding DIY Projects you’ll ever undertake. Whether you’re a seasoned DIY enthusiast or a beginner, this home improvement project will inspire you to elevate your outdoor space.
Welcome to Your Concrete Patio Makeover
Patios are often overlooked when it comes to home improvement and outdoor décor. However, a beautifully tiled patio can extend your living space, provide a perfect area for entertaining, and even increase the value of your home. This project isn’t just about laying tiles; it’s about crafting a space that reflects your style and creativity. By incorporating upcycling ideas and sustainable practices, you can transform your patio into a unique and eco-friendly retreat.
In this comprehensive guide, we’ll cover everything you need to know, from the essential materials to the step-by-step process of tiling your concrete patio. So, roll up your sleeves and get ready to embark on a DIY Project that will transform your patio into a stylish, functional outdoor space.
Materials Needed for Tiling Over a Concrete Patio
Before you dive into your patio tiling DIY Project, it’s crucial to have all the necessary materials on hand. Proper preparation is key to achieving a professional-looking result. Here’s a comprehensive list to guide your preparation for this home improvement task:
Surface Preparation:
- Broom or Vacuum: For sweeping debris.
- TSP Cleaner: For thorough cleaning of the concrete surface.
- Scrub Brush: To apply TSP cleaner effectively.
- Cement Patching Compound: To fill small cracks and holes.
- Floor Leveling Compound: To address large depressions and uneven areas.
- Concrete Sealer: To create a moisture-resistant barrier.
Priming:
- Concrete Primer: High-quality primer suitable for concrete surfaces.
- Paint Roller or Brush: For applying the primer.
- Paint Tray or Container: For holding the primer during application.
- Protective Sheets or Cloths: To cover adjacent areas and prevent spills.
Tiling Tools:
- Mortar: Thin-set mortar suitable for outdoor use.
- Mixing Paddle: For mixing mortar and grout with an electric drill.
- Notched Trowel: For spreading and combing mortar.
- Rubber Mallet: For tapping tiles into place.
- Tile Spacers: To ensure even grout lines between tiles.
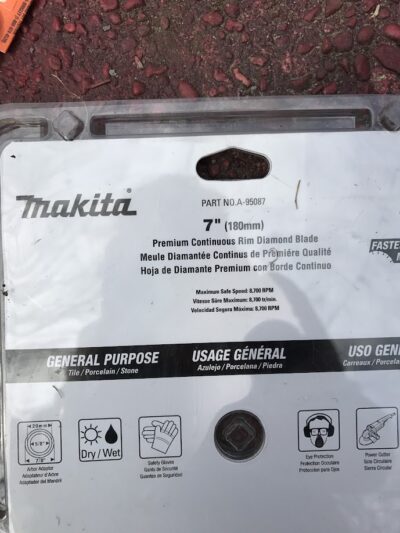
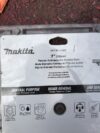
- Tile Cutter or Tile Saw: For cutting tiles to fit edges and corners.
- Utility Knife: For trimming excess materials.
- Level: To ensure a flat, even surface during installation.
- Tape Measure: For accurate measurements and tile placement.
Grouting:
- Grout: Suitable for outdoor use, matching your tile and joint width.
- Rubber Grout Float: For applying grout into the tile joints.
- Sponge Mop: For cleaning excess grout and final surface cleanup.
- Rags: For wiping off grout haze and spills.
Finishing:
- Outdoor Sealer: To protect grout from moisture and stains.
- Caulk: For sealing joints between the patio and adjacent structures.
Miscellaneous:
- Electric Drill: For mixing mortar and grout.
- Mixing Tool: Specifically designed for use with an electric drill.
- 5-Gallon Bucket: For mixing grout and mortar.
- Knee Pads: To protect your knees during installation.
- Rubber Gloves: To keep your hands clean while working.
Please Note: This post contains affiliate links, which means I may earn a commission if you make a purchase through these links. Your support helps keep this content free. Thank you for your understanding and support!
Having all these materials ready will streamline your DIY Project and help you achieve a professional-looking result. Happy tiling!
Step 1: Clean and Prepare the Surface for Your Concrete Patio Makeover
The foundation of a successful tiling project begins with a clean slate. Start by sweeping off all debris from your concrete patio. This isn’t just about aesthetics; a clean surface helps you spot any smaller cracks or imperfections that need attention.
Tip: If you live in a humid climate, allow your concrete to dry overnight to ensure there’s no residual moisture. A completely dry surface is crucial because cement’s primary issue is moisture control.
Next: Inspect your concrete for cracks and depressions. Small cracks can be patched with a cement patching compound. For larger flaws, use a floor leveling compound to ensure your patio surface is as smooth as possible. This is critical, as uneven concrete can lead to tile breakage and a less durable finish.
Tip: Cover your work with traps if it rains.
Step 2: Apply Concrete Sealer to Protect Your Patio Home Improvement Investment
Concrete is porous and can draw moisture from the ground up, which may compromise the bond between your concrete and the tile mortar. Applying a concrete sealer creates a protective barrier, reducing moisture buildup and preventing mold growth.
How to Apply Sealer:
- Clean the surface thoroughly. Ensure no dust or debris remains.
- Apply the sealer using a brush or roller, following the manufacturer’s instructions.
- Allow the sealer to dry completely before proceeding. This may take several hours or even overnight, depending on the product and environmental conditions.
Step 3: Prime the Floor for a Long-Lasting Outdoor Tile Installation
Priming helps the mortar adhere better to the concrete. Follow these steps for a successful priming job:
- Gather Materials: You’ll need a high-quality primer, a paint roller or brush, a paint tray, and protective sheets for surrounding areas.
- Clean the Floor: Ensure the floor is free of dirt, dust, and grease.
- Apply the Primer: Pour the primer into a tray, dip your roller or brush, and apply it evenly across the floor in smooth strokes. Work in small sections to maintain a consistent layer thickness.
- Allow Drying Time: Follow the primer manufacturer’s instructions for drying times and consider applying a second coat if required.
Step 4: Mix and Apply Mortar for Your Upcycling Ideas
With your concrete surface prepped, it’s time to mix the mortar. This will be the adhesive that holds your tiles in place and is crucial for your upcycling ideas.
- Mix the Mortar: Add half the water recommended on the mortar bag. Gradually mix in the remaining water until the mixture reaches a smooth, spreadable consistency. Let it rest for 10 minutes before mixing again.
- Apply the Mortar: Using a notched trowel, spread the mortar over an 8- to 10-square-foot area. Comb it in straight lines at a 35-degree angle to ensure an even application.
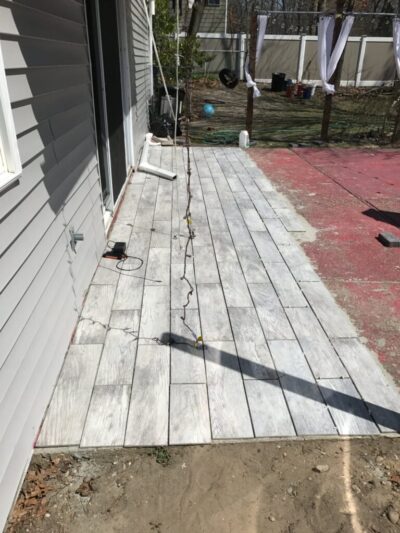
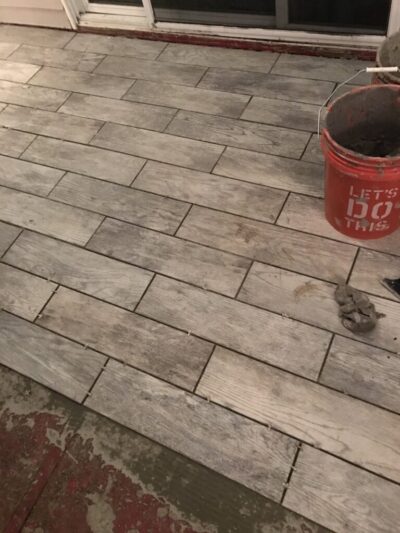
Step 5: Lay the Tiles for Your DIY Concrete Patio Transformation
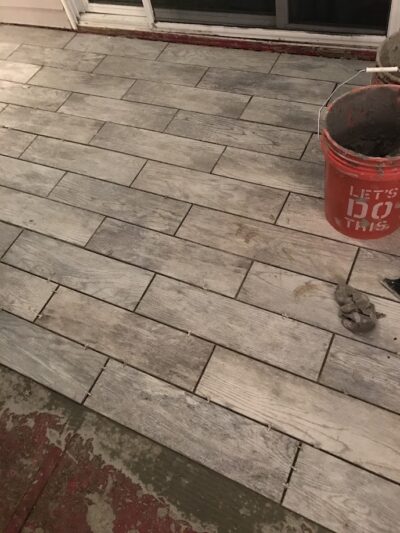
Start laying your tiles from the intersection of your chalk lines, twisting each tile slightly to embed it in the mortar.
Pro Tip: Use tile spacers to ensure uniform grout lines and check the back of each tile to ensure full coverage with mortar. If the mortar bed is too thin or too old, scrape it off and reapply.
For Edge Tiles: You’ll likely need to cut tiles to fit around the edges of your patio. Use a tile saw or snap cutter for precision.
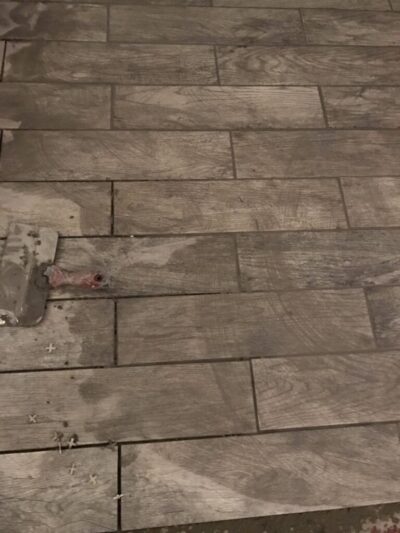
Step 6: Apply Grout to Complete Your Concrete Patio Makeover on a Budget
Once your tiles are set and the mortar has dried overnight, it’s time to grout.
- Mix the Grout: Combine grout powder with water as per the manufacturer’s instructions. Let it rest for 10-15 minutes, then remix.
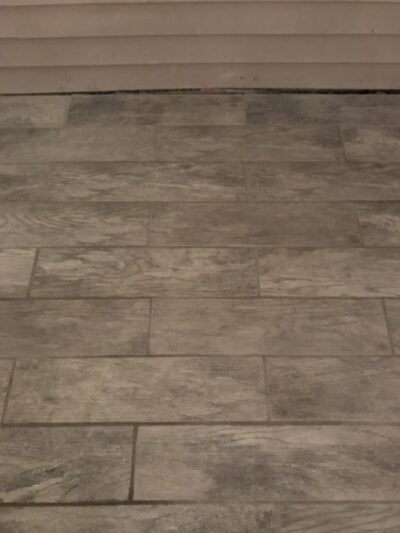
- Apply the Grout: Use a rubber grout float to press the grout into the joints between tiles. For wider joints, a grout bag may be necessary.
- Clean Excess Grout: Hold the float at a steep angle and sweep diagonally across the tiles to remove excess grout. Rinse and change water frequently to avoid haze.
Step 7: Mist and Seal the Grout for a Durable DIY Project
Grout needs to cure properly to ensure durability. Mist the grout several times a day for three days, especially if the patio is exposed to direct sunlight. Cover the area with plastic sheeting if necessary to prevent rapid drying.
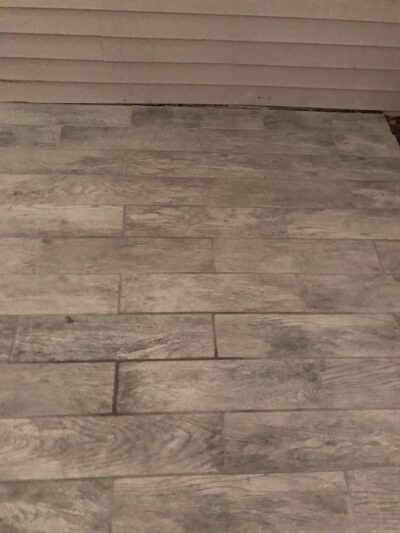
Seal the Grout: Once cured, apply a grout sealer to protect against moisture and stains. Follow the sealer’s instructions for application and drying times.
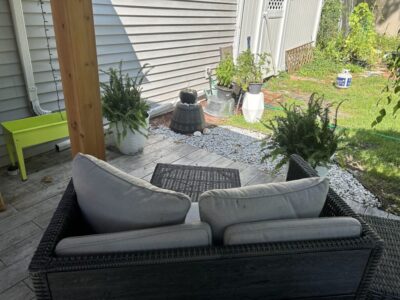
Final Touches to Elevate Your Patio Home Improvement Project
To finish your outdoor transformation, consider adding caulk between the patio and any adjacent structures to prevent moisture from seeping in. At DIYdalia’s, we are all about Innovate, Create, and Elevate—ensuring your patio transformation isn’t just a project but a significant step towards crafting a space where you can truly thrive. Transform Your Space, Transform Your Life with every detail. This DIY Project is not only a great home improvement task but also a brilliant example of upcycling ideas that add value and joy to your living space.
Sign up to the newsletter
Powered by EmailOctopus


