Transforming an Old Picket Fence into a Charming Coat Rack: A Step-by-Step Upcycling Project
Transforming an Old Picket Fence into a Charming Coat Rack: A Step-by-Step Upcycling Project
If you have an old white picket fence sitting around, why not give it a new lease on life? Upcycling is not only a sustainable practice but also a creative way to add unique, personalized elements to your home decor. In this project, we’ll guide you through transforming an old white picket fence into a charming, rustic coat rack that will be both functional and decorative.
Why Upcycle?
Upcycling is a fantastic way to repurpose old materials into something new and useful. Not only does it help reduce waste, but it also allows you to create one-of-a-kind pieces that add character and charm to your home. Using an old white picket fence for this project combines the allure of vintage materials with practical functionality, giving your space a touch of rustic elegance.
Materials Needed
To get started on your coat rack project, gather the following materials:
- (Old) Picket Fence: Ensure the fence is clean and in decent condition.
- Measuring Tape: For precise measurements.
- Saw: To cut the fence to the desired length.
- Sandpaper: For smoothing rough edges.
- Primer and Paint: Choose a color that complements your decor. You might opt for a classic white, a bold color, or a distressed finish for a rustic look.
- Paintbrushes and Rollers: For applying primer and paint.
- Drill: To make holes for the coat hooks.
- Screwdriver: For securing the coat hooks.
- Coat Hooks or Knobs: Select hooks or knobs that match your style.
- Wood Screws: To attach the coat hooks securely.
- Wood Filler (Optional): To fill in any gaps or imperfections.
- Clear Sealer (Optional): To protect the finished piece.
This post contains affiliate links. If you purchase through these links, I may earn a small commission at no extra cost to you. Your support helps keep DIYdalia’s running smoothly, so thank you!
Step-by-Step Guide to creating your new coat rack!
- Inspect and Clean:
- Before you start, inspect the old picket fence for any damage or rot. Remove any debris, dirt, or old paint. If necessary, clean the fence with a mild detergent and water, and let it dry completely.
- Disassemble (If Needed):
- If your picket fence is composed of multiple panels, disassemble it carefully. This will make it easier to cut and work with individual pieces.
Determine the Size:
- Decide on the dimensions of your coat rack. Measure the length of the fence you want to use, keeping in mind how many hooks or knobs you plan to install.
- Cut to Size:
- Use a saw to cut the picket fence to your desired length. If you want to maintain the picket shape, you can leave the tops of the pickets as they are, or you can trim them for a more streamlined look.
Sand and Smooth
- Sand the Edges:
- Sand the cut edges of the fence to smooth out any rough spots. This will not only make the rack look more polished but also ensure that it’s safe to handle.
- Surface Preparation:
- Lightly sand the entire surface of the fence to remove any old paint or imperfections. This will help the primer and paint adhere better.
Prime and Paint
- Apply Primer:
- Apply a coat of primer to the fence to help the paint adhere and to ensure an even finish. Use a paintbrush or roller to cover all surfaces. Allow the primer to dry completely according to the manufacturer’s instructions.
- Paint:
- Once the primer is dry, apply your chosen paint color. Depending on your preference, you can go for a solid color or a distressed finish. Apply the paint evenly using a brush or roller. Allow the paint to dry completely between coats. You may need to apply two or more coats for full coverage.
Install the Coat Hooks
- Mark the Placement:
- Decide where you want to place the coat hooks on your fence. Measure and mark the spots where you’ll drill the holes. Ensure that the hooks are evenly spaced for a balanced look.
- Drill Holes:
- Use a drill to make holes for the coat hooks. Be cautious to drill straight and to the appropriate depth for the screws you’ll be using.
- Attach the Hooks:
- Align the coat hooks with the drilled holes and secure them with wood screws using a screwdriver. Make sure the hooks are firmly attached and can support the weight of coats and other items.
Finishing Touches
- Fill Gaps (Optional):
- If there are any gaps or imperfections in the wood, fill them with wood filler. Allow the filler to dry, then sand it smooth before applying a final coat of paint or sealer.
- Seal the Paint (Optional):
- To protect the paint and ensure longevity, apply a clear sealer. This step is especially important if the coat rack will be exposed to moisture or heavy use.
- Mounting (If Applicable):
- If you’re planning to mount the coat rack on a wall, ensure it is securely attached using wall anchors and screws. Alternatively, you can use a bracket system or hooks for mounting.
Design Variations and Tips
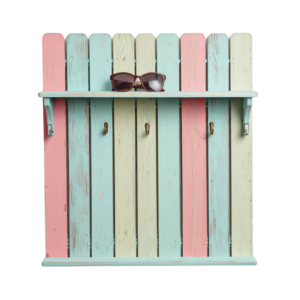
- Distressed Finish: For a more rustic, vintage look, consider distressing the paint. Once the paint is dry, lightly sand certain areas to create a worn appearance.
- Custom Stencils: Personalize your coat rack by adding stencils or decals. Choose designs that match your home decor or reflect your personal style.
- Multi-Functionality: Add a shelf above the coat hooks for extra storage. This can be a great place to display decorative items or store accessories.
Maintenance and Care
- Regular Cleaning: Keep your coat rack looking its best by wiping it down with a dry cloth or a gentle cleaner. Avoid using harsh chemicals that could damage the paint.
- Inspect for Damage: Periodically check the coat rack for any signs of wear or damage. Tighten any loose hooks and touch up the paint as needed.
Examples
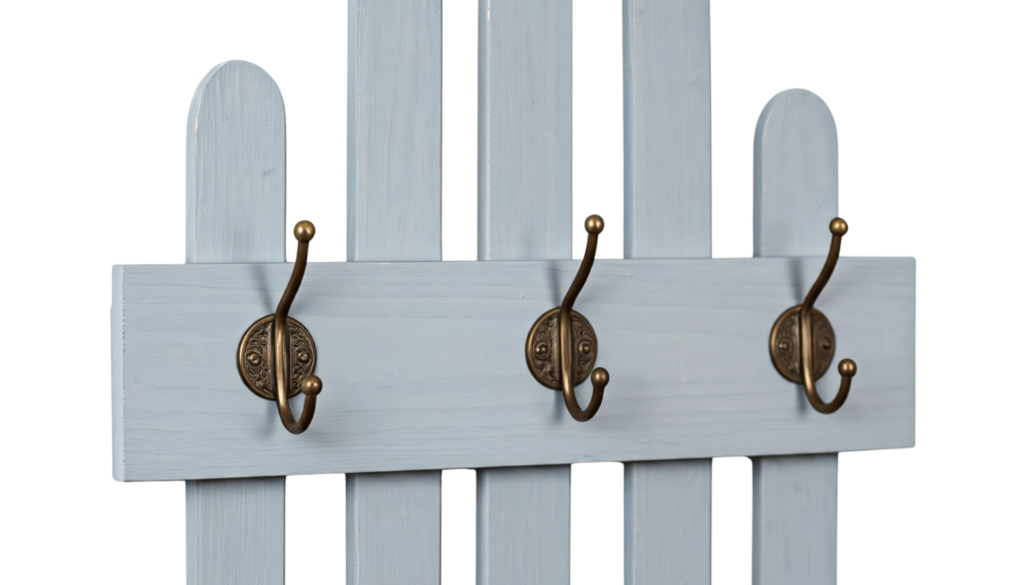
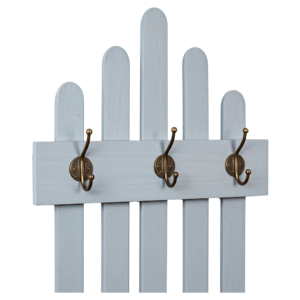 Entryway: Use an old picket fence to create a charming coat rack for an entryway. Paint it a soft grey and add antique brass hooks, creating a welcoming and functional space for guests.
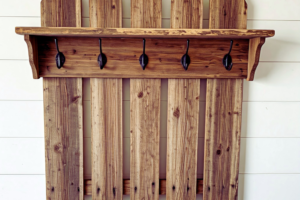
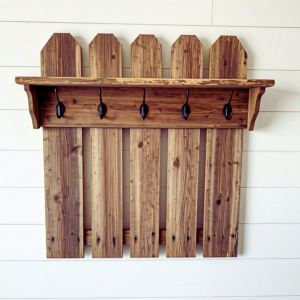 Mudroom: Transform a weathered picket fence into a rustic coat rack for your mudroom. Opt for a distressed finish and included a small shelf above the hooks, making it a practical and stylish addition to any home.
Conclusion
Repurposing an old white picket fence into a coat rack is a delightful way to add character to your home while embracing the principles of upcycling. This project not only revitalizes old materials but also provides you with a unique, functional piece that complements your decor. With a bit of creativity and effort, you can turn a simple picket fence into a charming coat rack that will be admired by family and friends.
Embrace the joy of DIY and upcycling with this project, and enjoy the satisfaction of creating something beautiful from what might otherwise be considered a relic of the past. Happy crafting!

